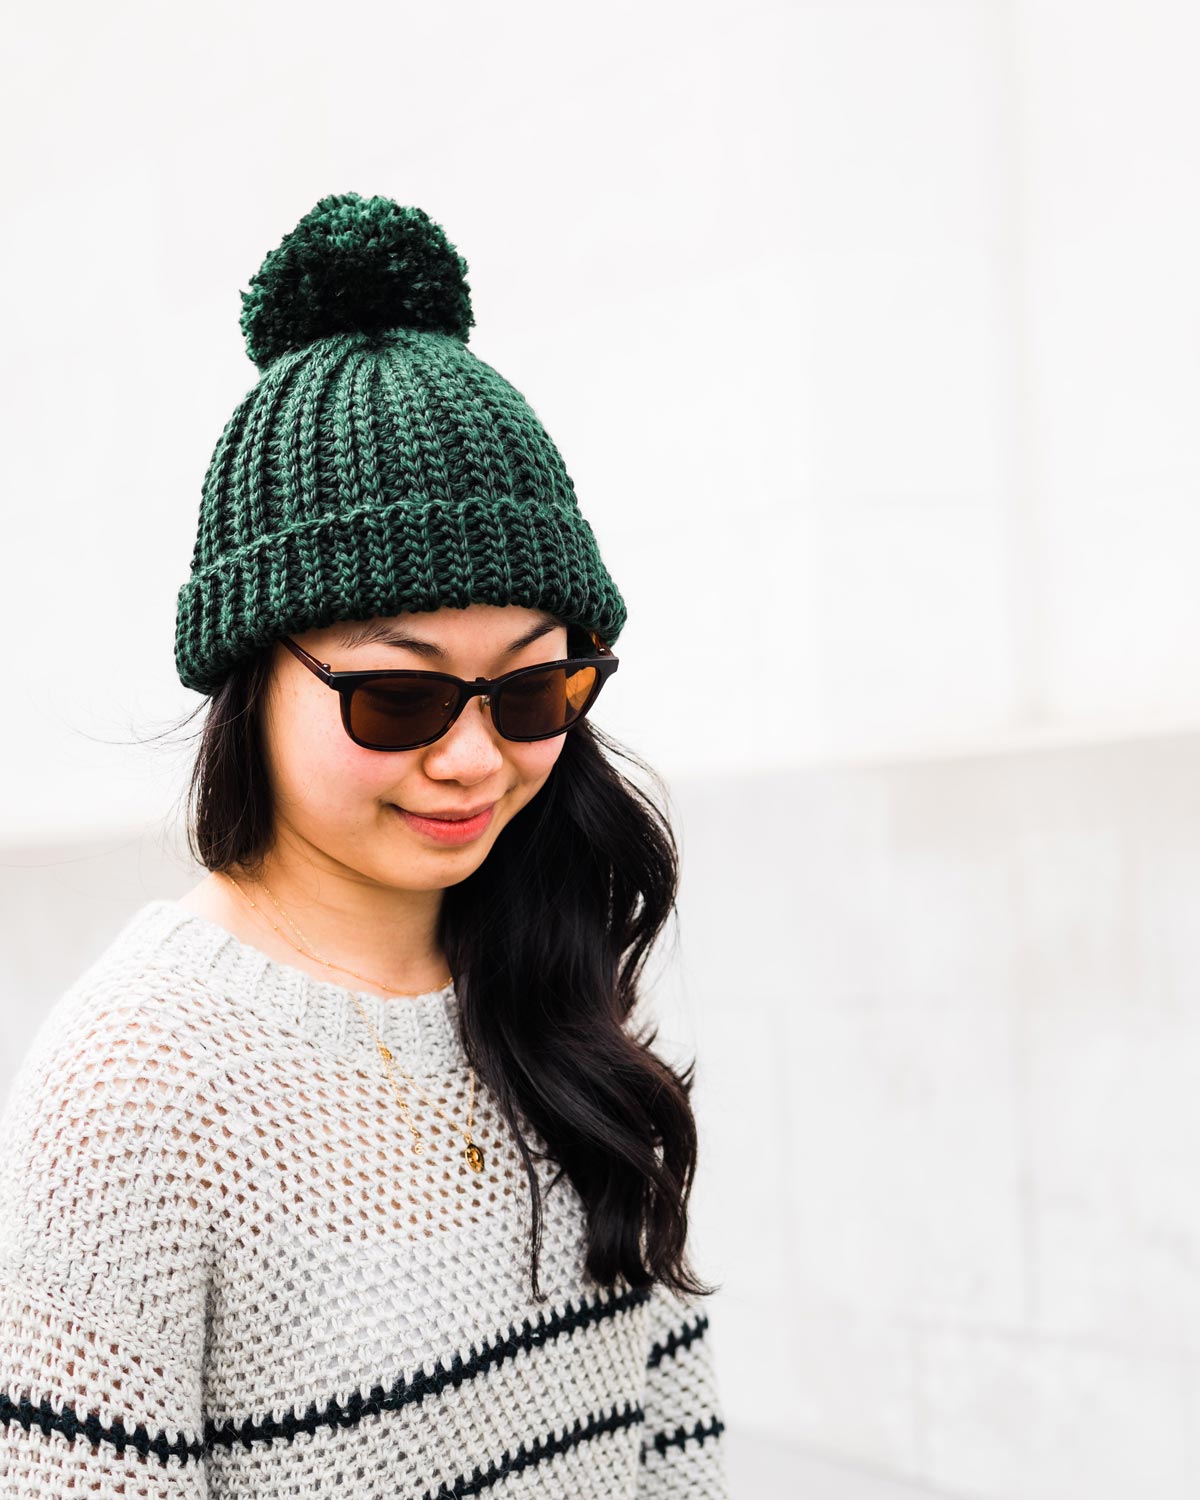
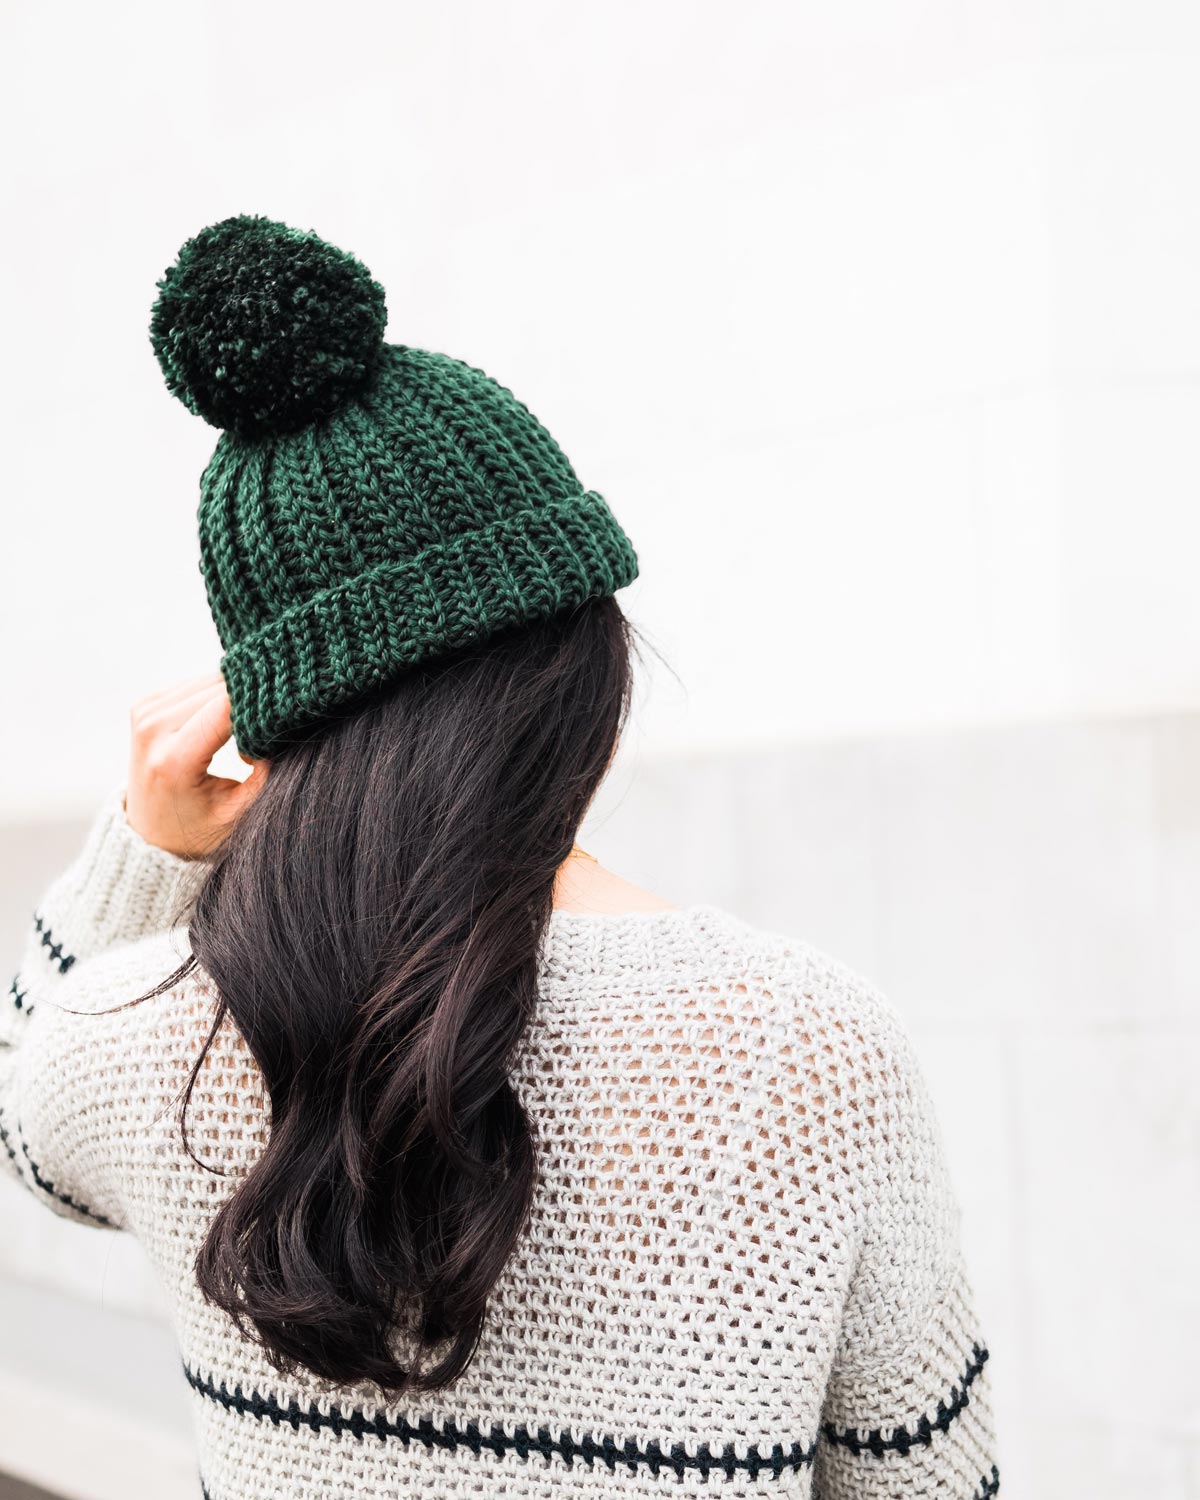
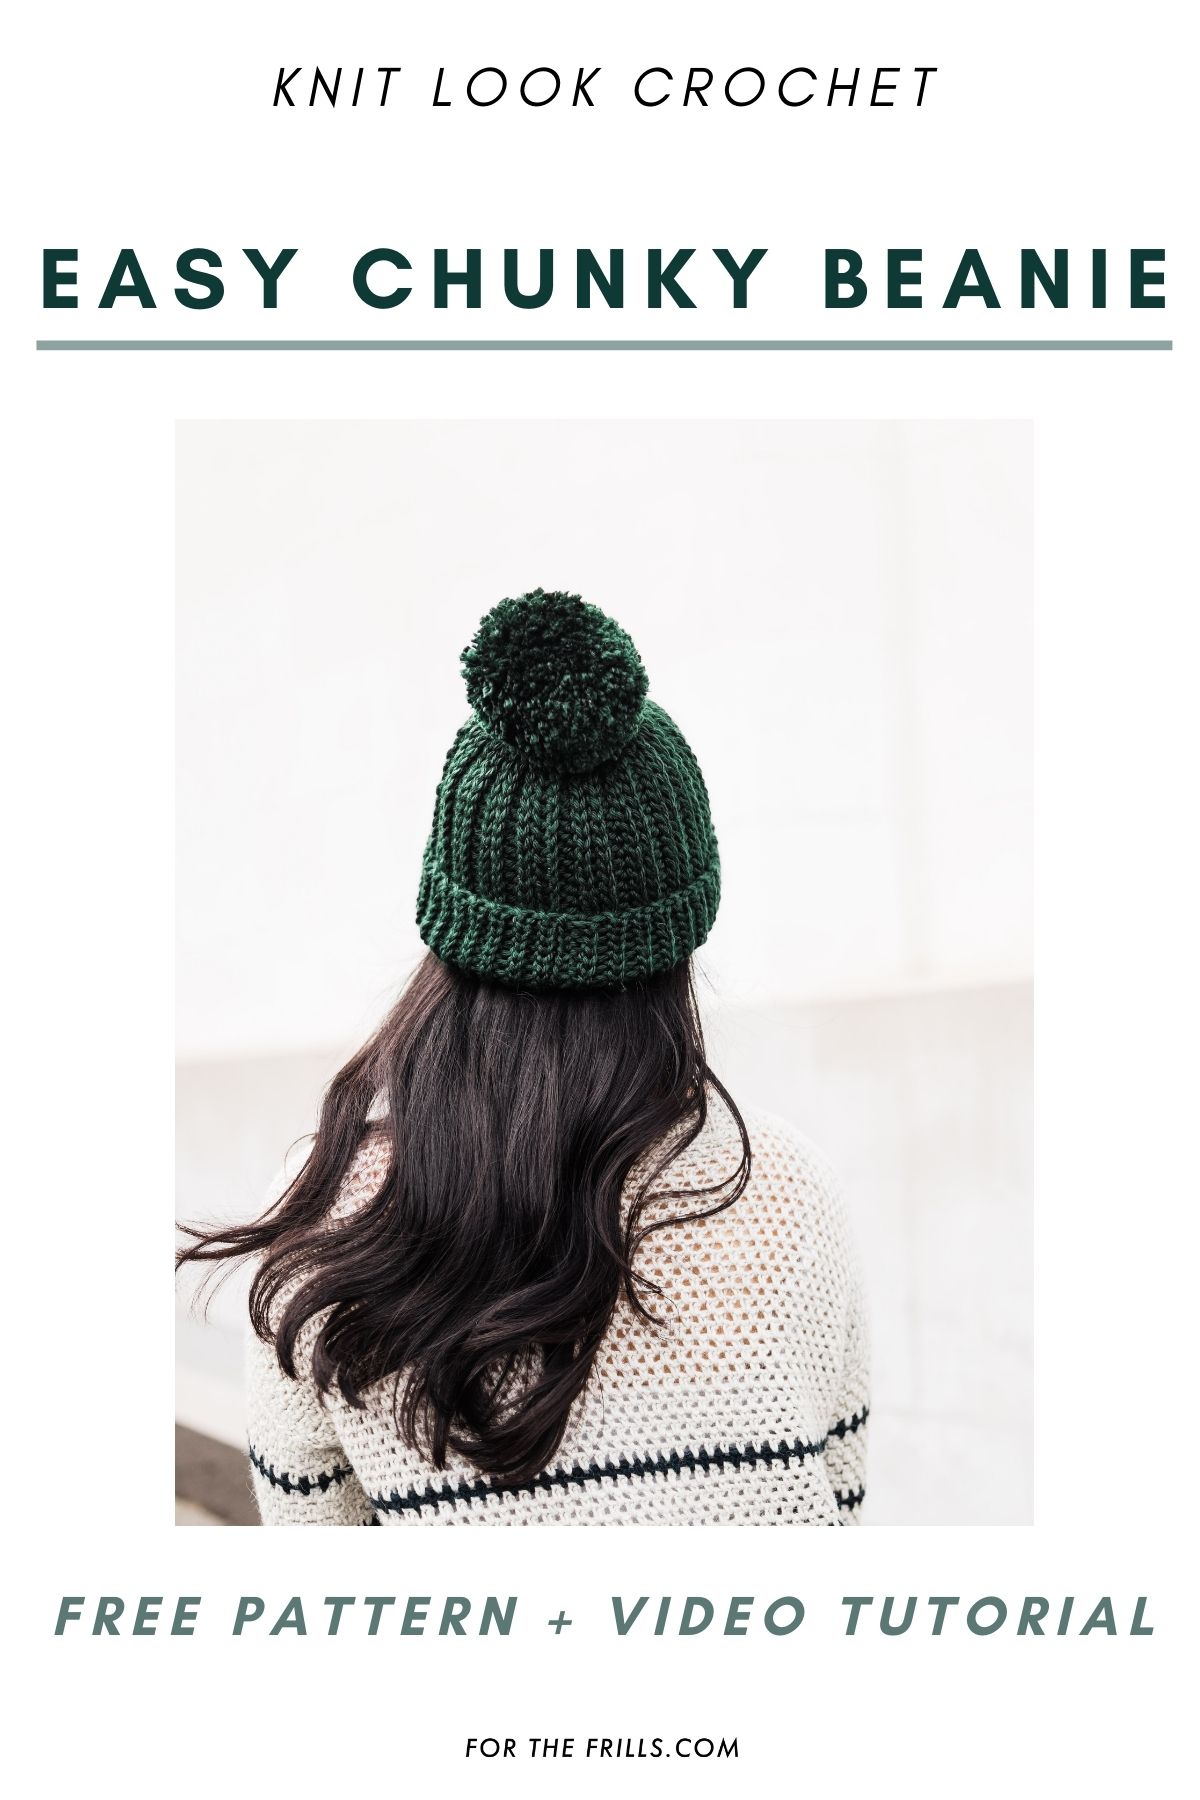
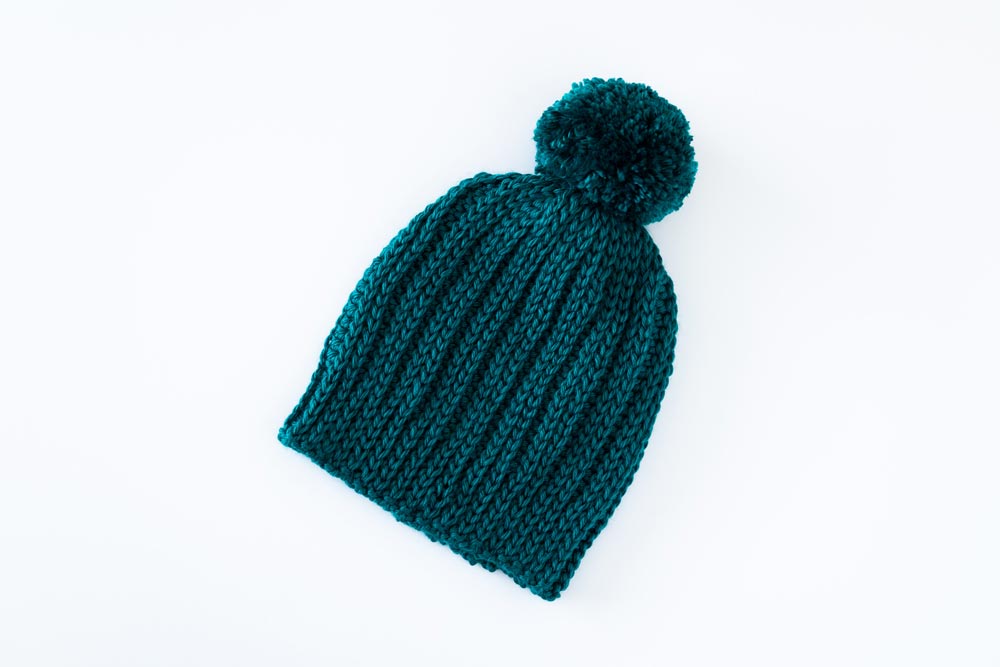
The Alpi Beanie - a simple, ribbed chunky crochet beanie that works up fast and has a modern knit-like look. This easy crochet beanie comes in 8 sizes ranging from preemie baby all the way to adult!
Scroll down for this free crochet beanie pattern and step-by-step video tutorial, or purchase the ad-free, printable PDF here.
This post may contain affiliate links, view our disclosure policy for details.
Thank you to WeCrochet for providing the yarn for this free crochet beanie pattern! As always all thoughts and opinions are 100% my own 🙂
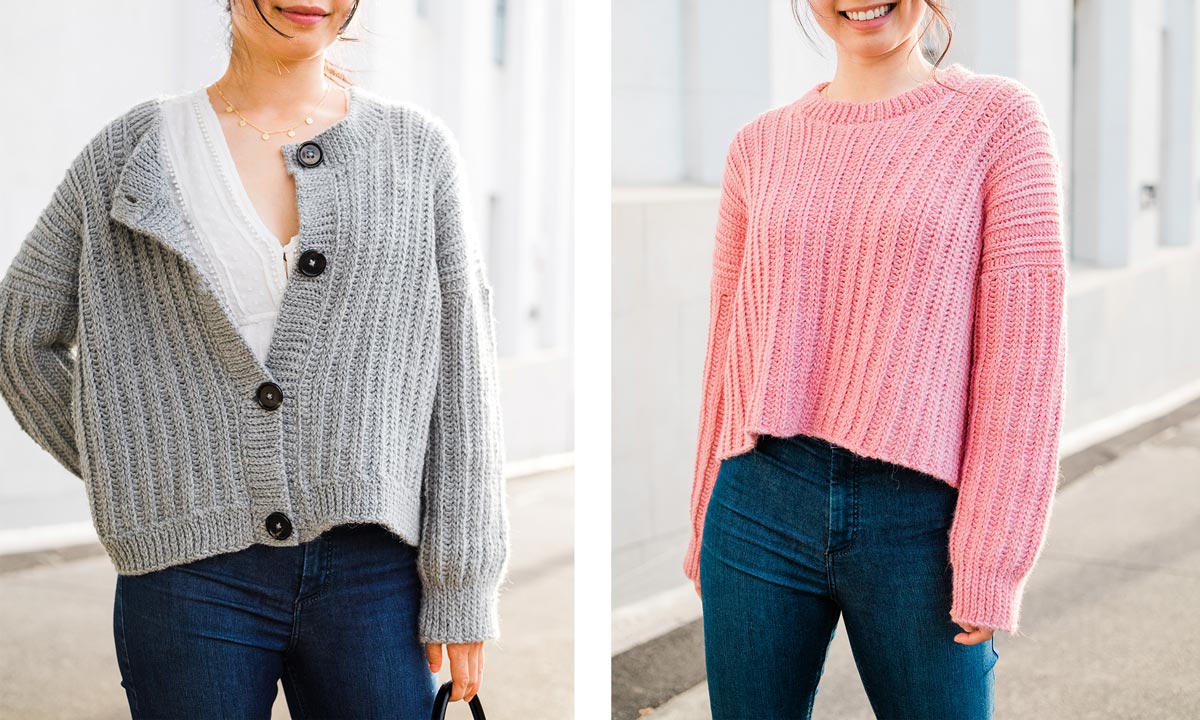
The Alpi Beanie is 4th pattern in the Knit-Look Rib Stitch family! There’s the original sweater pattern (Amalfi Sweater), a button-down cardigan (Pompeii Cardigan), a long pocket cardigan (Palermo Cardi) and now a ribbed beanie 🙂
Ever since, I first released the Amalfi Sweater you’ve been sending in requests for a beanie pattern and it’s finally here! This chunky beanie works up quickly and has a very polished, modern look so it would make a great Christmas gift!
The Alpi Beanie comes in 8 sizes – preemie, baby, toddler, child, tween, adult small and adult large but one thing to note is that this stitch is stretchy, VERY STRETCHY! So if you’re using a loose/stretchy yarn just keep in mind that you might want to size down or reduce the number of total rows.
An easy way to check is to simply wrap your beanie around your head. For a snug fit you want the edges to just touch, with no overlap or your beanie will stretch out and be too big!
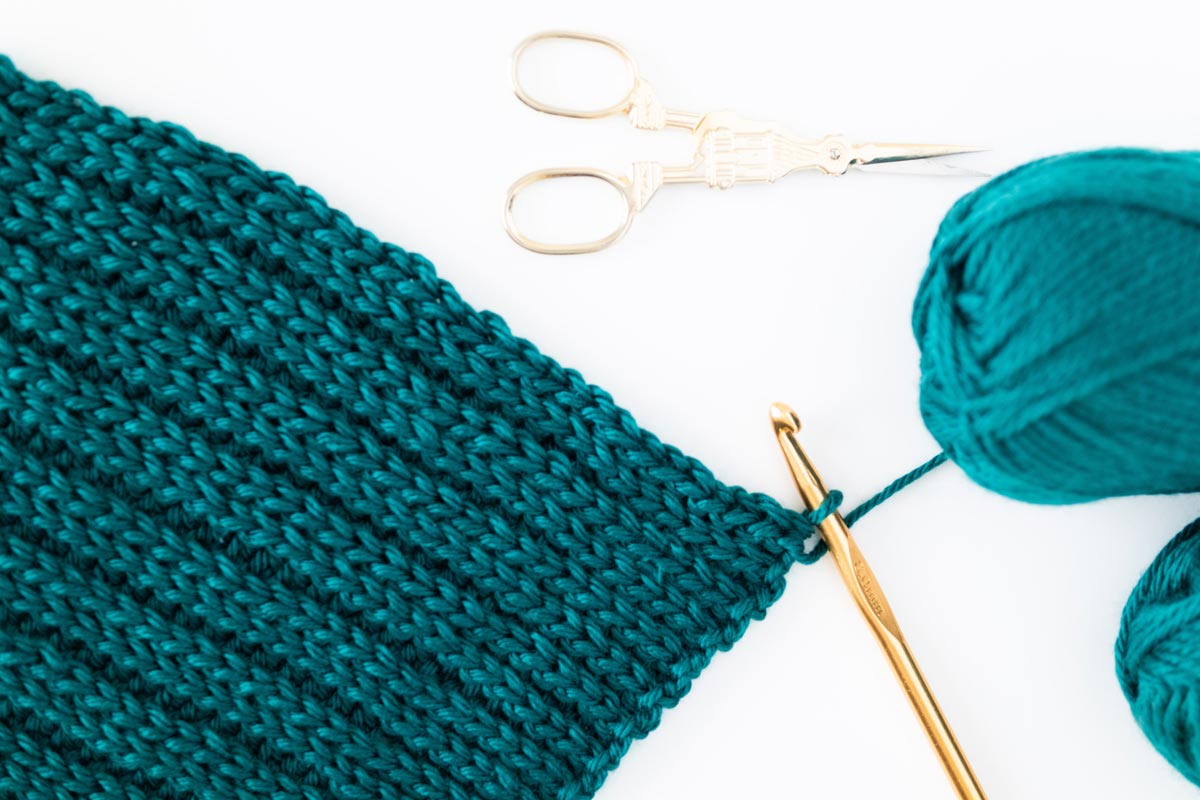
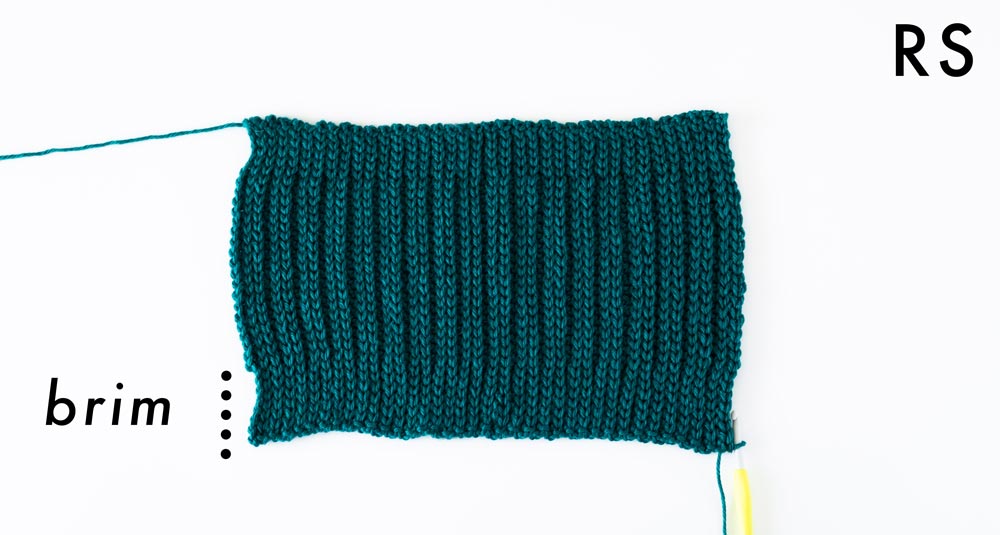
This simple ribbed beanie follows a flat construction (meaning rows are worked back and forth) while the foundation chain runs the length of the beanie – not the width. The sample beanie has a foldable brim but if you’d rather have a brimless beanie you can simply reduce the number of chains.
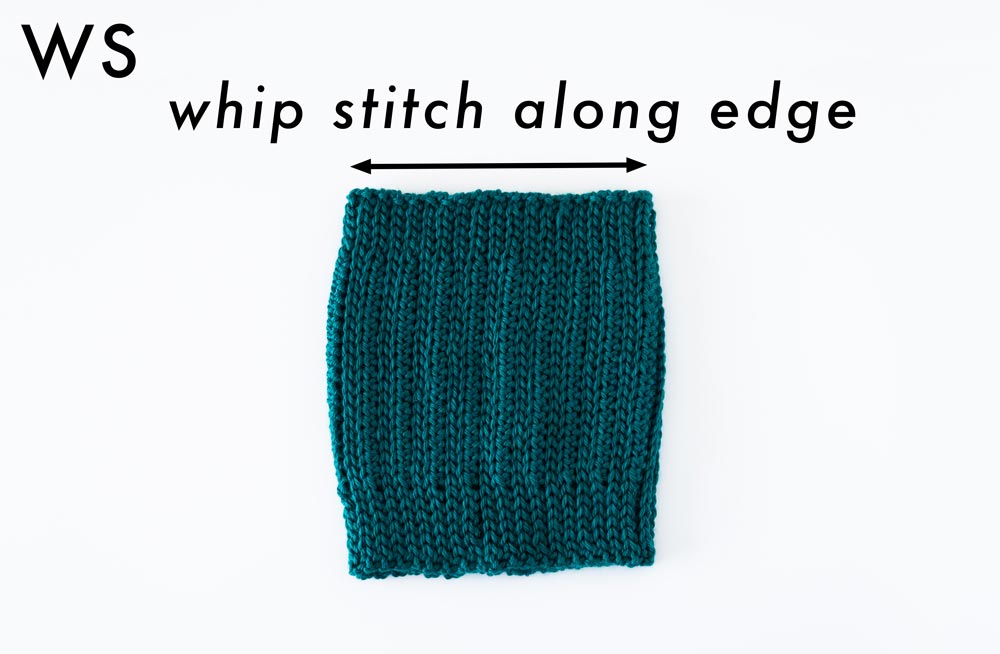
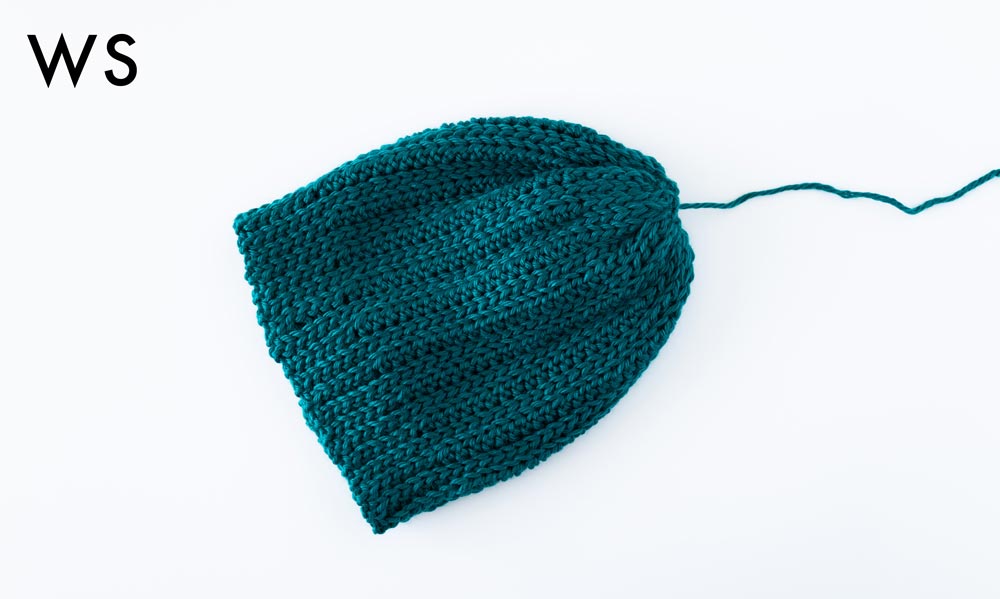
Once we’ve crocheted a flat piece the short edges of the beanie are sewn together with a whip stitch. We’ll then whip stitch around the top edge of the beanie, pulling tight on your strand of yarn after every few stitches.
It’s super important to pull on your strand of yarn as you sew, if you wait till the end the top of your beanie will bunch up unevenly and result in a sort of ‘lumpy’ look at the top.
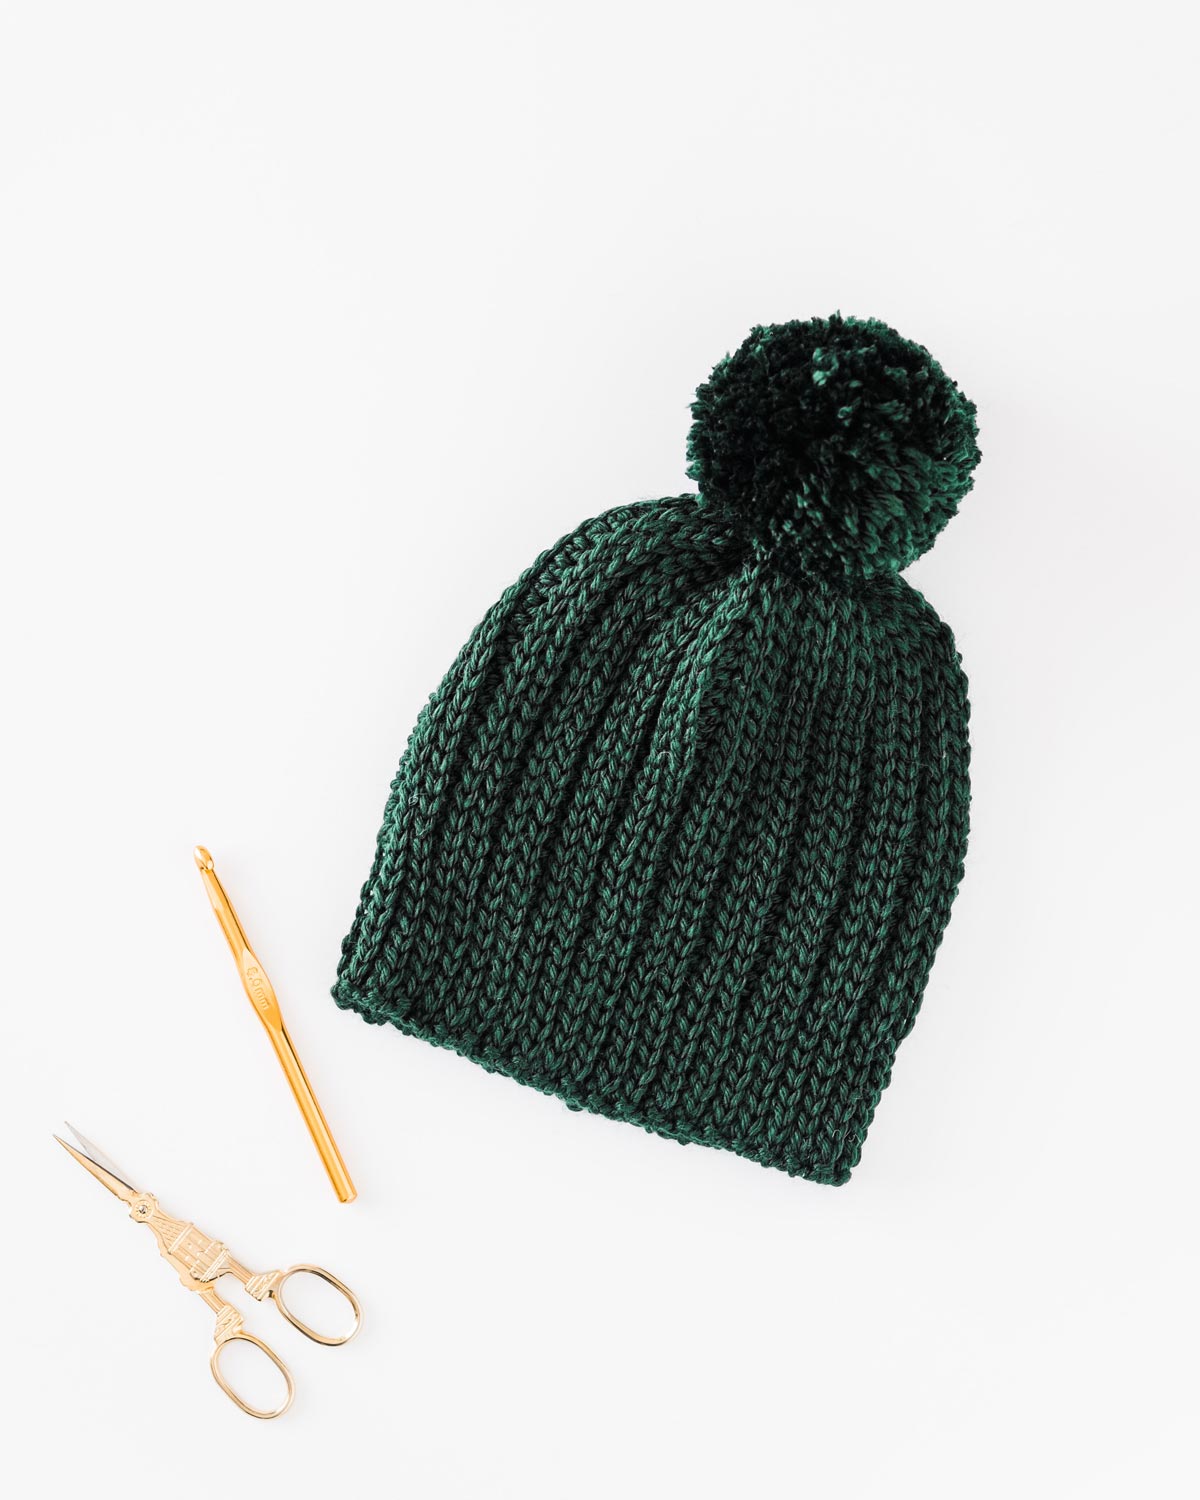
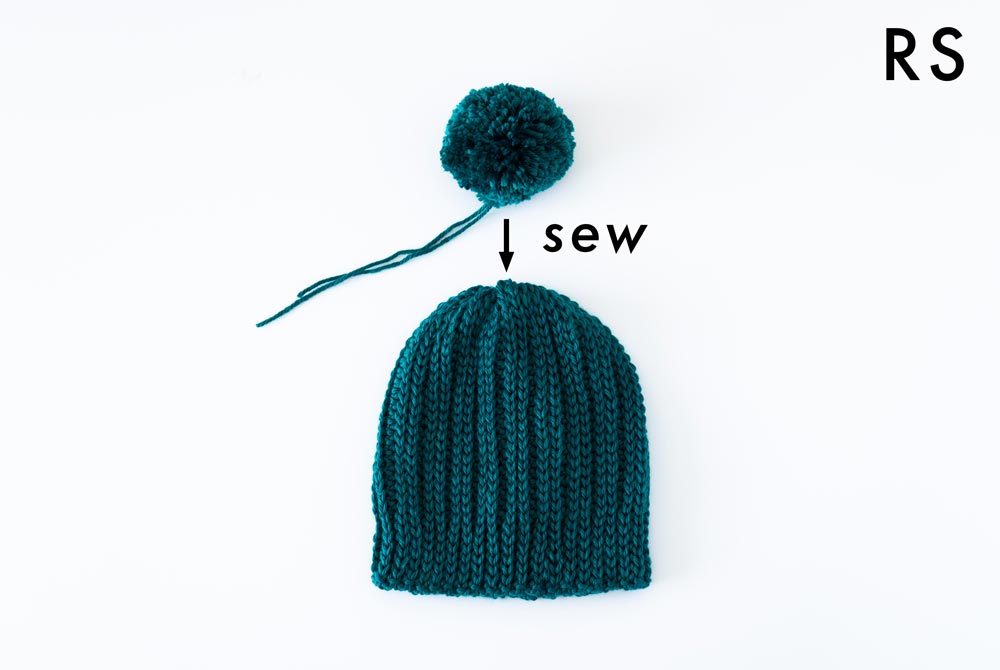
If you still have a small hole at the top of your beanie, simply sew it closed. I added a large yarn pomp om to the top of my beanie but you can always leave your beanie as if or sew on a faux fur pom pom.
Design Inspiration
When I find that when there’s a crochet stitch you guys love, you want it in all the different styles and I completely understand why 🙂 Stitch texture is one of my favourite parts of designing and to be honest I’ll abandon a project if I’m not in love with the stitch!
I knew exactly what stitch I was going to use but I wasn’t sure what weight of yarn I wanted. In the end I decided to go for a bulky weight because it makes the ribbing texture more defined and keep your head warmer 🙂
Let me know if you’d like any other designs in the Knit-look Rib Stitch Pattern!
Looking for more free crochet patterns?

1. Everyday Beanie / 2. Fair Isle Ombré Beanie / 3. 1 Hour Crochet Beanie
Yarn
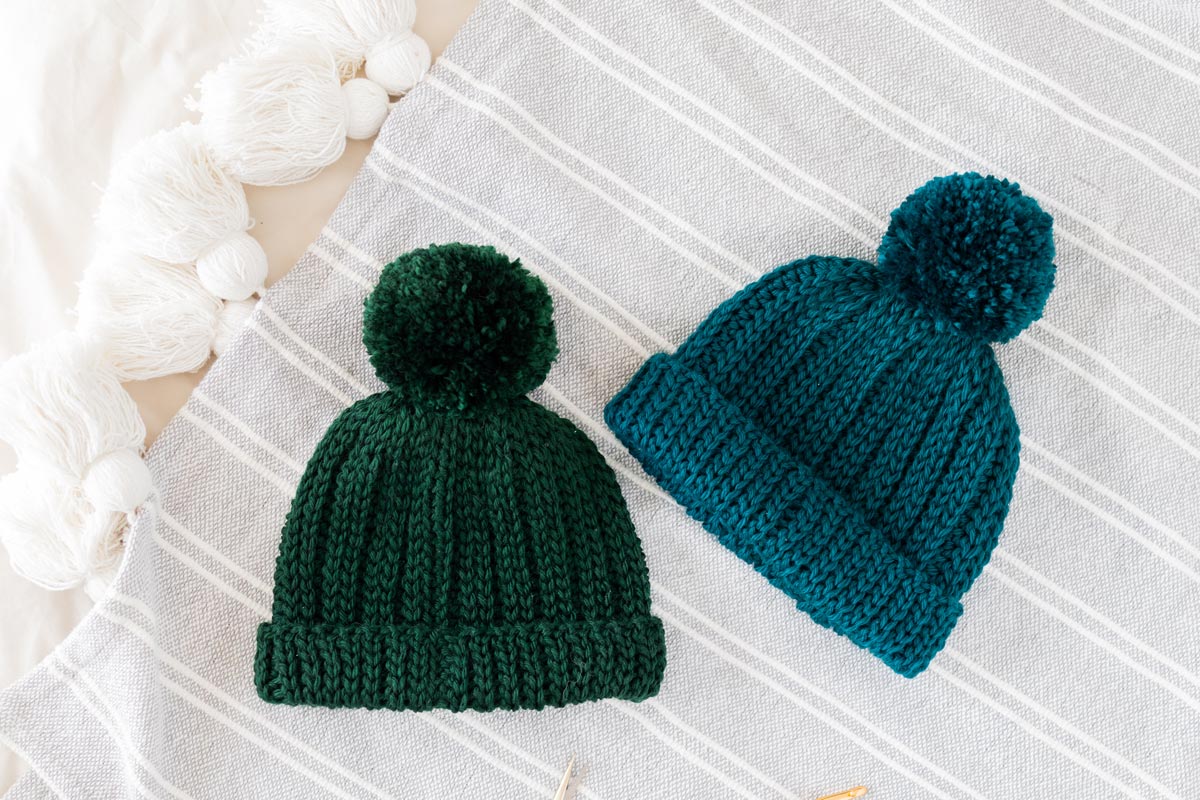
The Alpi Beanie uses WeCrochet Mighty Stitch Bulky in the shades Ivy (dark forest green shade) and Spruce (jewel tone teal shade). If you’ve followed the blog for a while you’ll know how much I love this yarn. It’s affordable, soft, has incredible drape and is machine washable!
I’ve designed with it for the Someday Sweater and Palermo Cardigan too!
The best thing about Mighty Stitch Bulky is that the yarn itself is solid coloured with a smooth texture and a slight sheen. All these factors combine to highlight the ribbed texture. I can’t emphasise enough how important yarn choice is when it comes to complementing different stitch textures. The right yarn can make or break a project!
If possible, I always purchase just one skein of yarn first so I can crochet a swatch before committing to a sweater’s worth quantity. Thankfully, beanies are small projects so they are also a good time to experiment and to try out new yarns without it being too costly.
Video Tutorial
Pin me for later!
I love to see your finished projects! Use #forthefrills and tag me on Instagram @forthefrills for a chance to be featured
Add the Alpi Beanie to your Ravelry queue!
Purchase the ad-free, printable pdf version of the Alpi Beanie!
Alpi Beanie Summary:
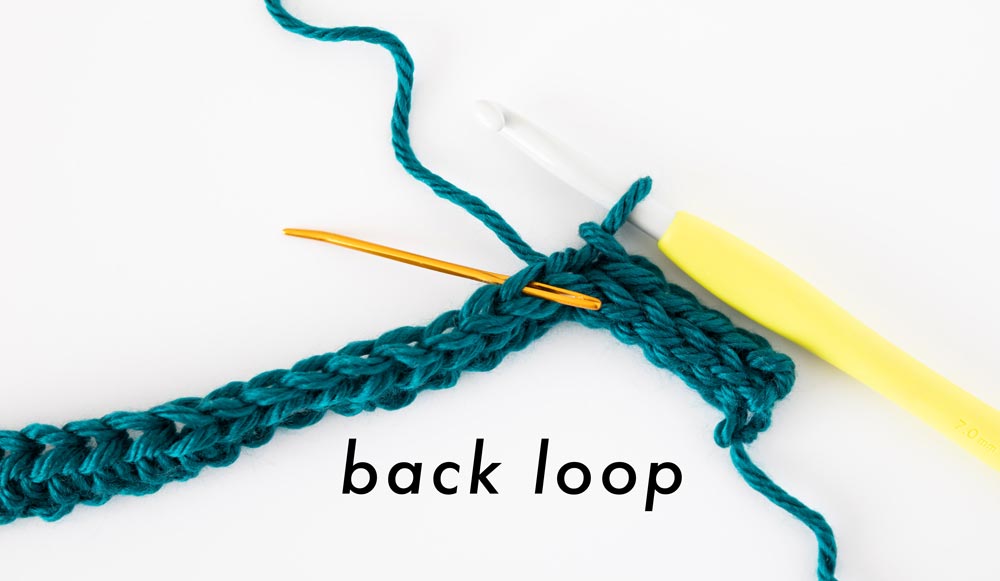
A chic and modern chunky crochet beanie with knit-look stitch that requires back loop half double crochet and slip stitches – that’s it!
NOTES:
*Sample beanie in the video is a size Adult Small in shade spruce. Model wears beanie in shade ivy.
*The sizing guide follows size Preemie(Baby, Toddler, Child)(Tween, Adult Small, Adult Large). E.g. “19(23, 25, 28)(31, 35, 37) means Ch 19 for Preemie, Ch 23 for Baby, Ch 25 for Toddler, Ch 28 for Child, Ch 31 for Tween, Ch 35 for Adult Small and Ch 37 for Large.” If there is only one number, it applies to all sizes.
*"HDC 10" means HDC into the next 10 stitches.
*The turning chain, ch 1 and ch 2 does NOT count as a stitch.
*Total stitches are indicated between < >.
*This pattern uses US crochet terms.
*This beanie is worked lengthways meaning the foundation chain runs the length/height of the beanie, not the width.
*This beanie is sewn together with the RS on the inside and the WS facing outwards.
*The RS is the side with visible ribbing and you will be able to feel the texture of the ribbing. The WS will feel smooth when you run your hand over the stitches.
LEVEL: Beginner+
Materials
Yarn – WeCrochet Mighty Stitch Bulky – Bulky / Chunky (5), 124m/100g, 136yds/3.5 oz, 80% acrylic + 20% superwash wool, Ivy + Spruce
Beanie: approx. 40(55, 70, 90)(100, 115, 140)g
10cm/4” Pom Pom: approx. 50g
7mm Crochet Hook
Darning Needle
Scissors
Stitches & Abbreviations
Ch = Chain
Sl st = Slip Stitch
HDC = Half Double Crochet
BLO = Back Loop
St(s) = Stitch(es)
RS = Right Side
WS = Wrong Side
Measurements (cm/inches):
To fit head circumference:
Preemie: 30cm / 12”
Baby: 35cm /14”
Toddler: 41cm / 16”
Child: 46cm / 18”
Tween: 51cm / 20”
Adult Small: 56cm / 22”
Adult Large: 61cm / 24”
GAUGE: 10cm/4” square = 12.5 stitches wide x 17 rows tall (5 HDC rows + 16 sl sts rows) in Knit-Look Rib Stitch pattern
Knit-Look Rib Crochet Stitch Pattern
FOUNDATION CHAIN: Ch any number of stitches.
ROW 1(RS): HDC into 2nd ch from hook, HDC in each st until end, turn.
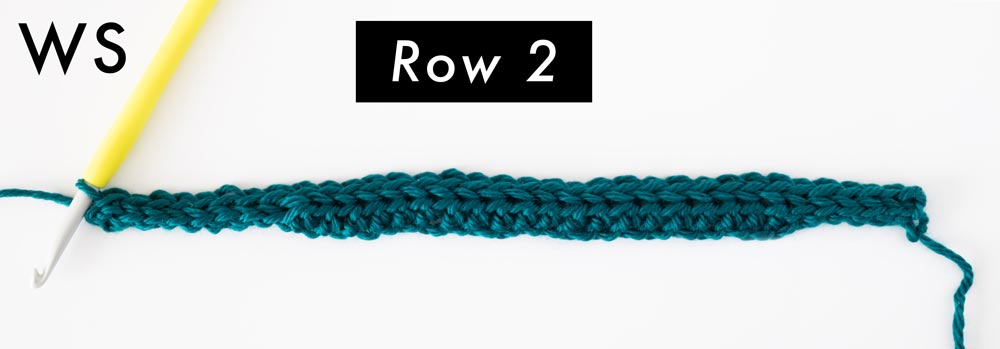
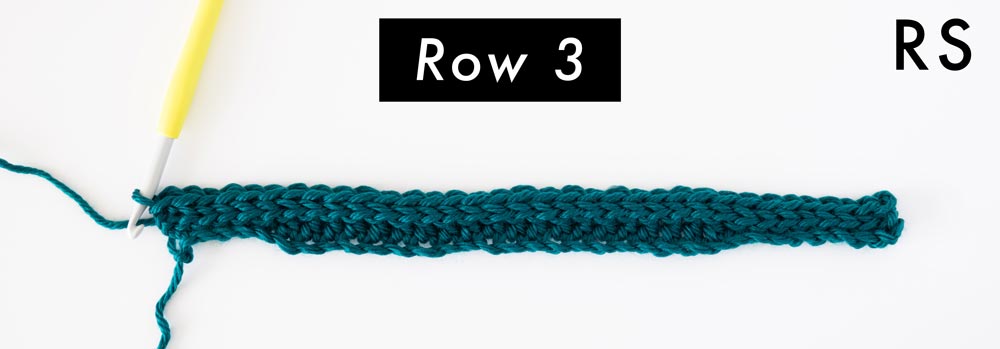
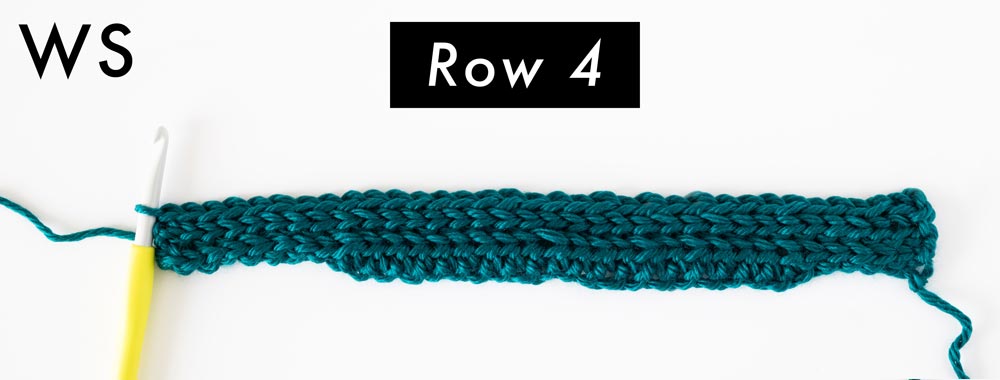
ROWS 2 – 4 (BASE SL ST ROW): Ch 1, BLO sl st across, sl st in last st, turn.
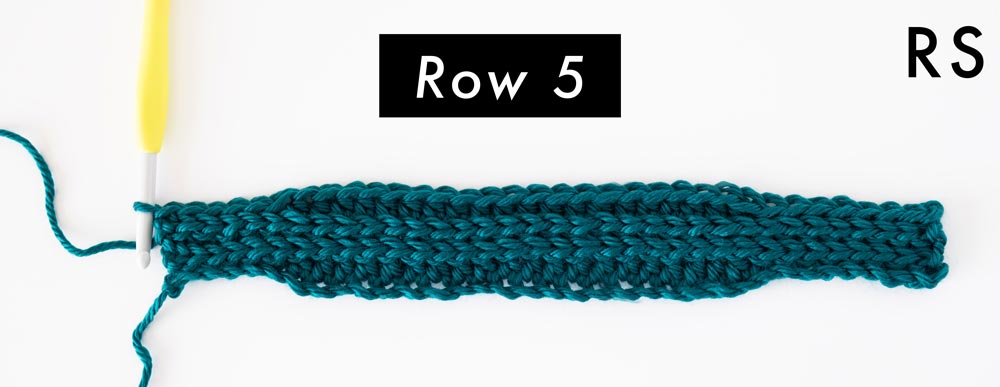
ROW 5: Ch 1, BLO HDC across, HDC in last st, turn.
Repeat ROWS 2 – 5 until you reach your desired length.
Alpi Ribbed Beanie Crochet Pattern
FOUNDATION CHAIN: Ch 19(23, 25, 28)(31, 35, 37).
ROW 1(RS): Sl st into 2nd ch from hook, sl st 2(2, 4, 5)(6, 7, 8), HDC in each ch until 2(2, 3, 4)(5, 6, 7) chs left in the row, sl st in each remaining ch, turn.
<18(22, 24, 27)(30, 34, 36)>
ROWS 2 – 4 (BASE SL ST ROW): Ch 1, BLO sl st across, sl st in last st, turn.
<18(22, 24, 27)(30, 34, 36)>

ROW 5: Ch 1, BLO sl st 3(3, 5, 6)(7, 8, 9), BLO HDC in each st until 2(2, 3, 4)(5, 6, 7)sts left in the row, BLO sl st across, sl st in last st, turn.
<18(22, 24, 27)(30, 34, 36)>
Repeat ROWS 2 – 5 until ROW 44(52, 60, 64)(68, 72, 80).
Fasten off.
Fold beanie in half with the WS facing outwards. Whip stitch the edges of the beanie together.

Whip stitch along the top of the beanie, pulling on your strand of yarn after every few stitches to close the hole. Pull tight on your strand of yarn and tie a knot. If necessary, sew the hole closed.
*The top of the beanie is the edge with fewer sl sts.
Turn the beanie inside out so that the RS is facing.
Optional: Make and sew on a pom pom.
Weave in all of your ends.
Voilà! You’ve finished your Alpi Ribbed Beanie 🙂
Love the style but I really could use some measurements to adapt to other yarns. I also feel like my hat portion is short even using the recommended yarn. I also do not understand your row gauge. It says 17 rows,, but 5 + 16 is 21. 🤷♀️ Thanks.
Hey, it looks like WeCrochet discontinued the bulky version of the Mighty Stitch yarn. Would it work to double the yarn strand of the standard Mighty Stitch?