Learn how to make a perfect pom pom! Follow this easy step-by-step video tutorial to learn how to make a yarn pom pom with a pom pom maker. These DIY fluffy pom poms are a great addition to crochet beanies, hats, blankets and more!
This post may contain affiliate links, view our disclosure policy for details.
Pom Poms are one of my favourite additions to crochet accessories. I love how they add a fun and whimsical touch to any crochet item! I pretty much only ever wear beanies with pom poms so I’ve had a lot of practice making them and have a few tips and tricks to make pom poms as quickly as possible!
The key to making make pom poms quickly is to hold two strands of yarn at the same time. If you only have one skein of yarn, pull a strand of yarn from the outside of the skein and pull another strand of yarn from the centre of the skein. (I also use this double strand method for these beginner-friendly boho crochet coasters!)
You also want to make sure that your pom pom is FULL of yarn. It should be a really tight squeeze to push the arches back into place. The more yarn you have, the fuller and fluffier your pom pom!
Looking for more pom pom crochet patterns?

1. Everyday Crochet Beanie / 2. Fair Isle Ombré Beanie / 3. 1 Hour Chunky Beanie
There are many different ways to create pom poms using cardboard, a fork, in between two chairs and there are also many different styles of pom pom makers! However, my personal favourite method is to use a pom pom maker and specifically these Clover Pom Pom Makers are my favourite!
In general, I find that with pom pom makers you use less yarn (always a win!) than the cardboard method and the makers are reusable so there’s no need to draw and cut out circles for each and every pom pom you make. Pom pom makers create a shape that is very close to a perfect sphere while with the cardboard method you often end up with a rounded rectangle that you need to trim for ages to achieve the right shape!

Also, I find this style of pom pom maker easiest to use since the arches are perfectly shaped to create a round pom pom and they slide smoothly in and out without any snagging or pulling.
Once you watch the step-by-step video tutorial, you’ll be adding pom poms to everything! 🙂
Materials
Yarn
Scissors
*In this tutorial, I’m using a 8.5cm/3 ⅜” Clover Pom Pom maker and used 35g of WeCrochet Mighty Stitch Bulky Yarn. The exact amount of yarn you need depends on the thickness/weight of your yarn.
Pom Pom Maker Instructions
*Scroll down for the step-by-step video tutorial!
Your pom pom maker will have 4 ‘arches/arms’.
Open up a pair of arches and hold them tightly together. Make sure they are aligned and stacked directly on top of each other.
Starting at the bottom of the left side of the arch, place your 2 strands of yarn over the pom pom maker. Wrap your yarn evenly around the pom pom maker, working your way towards the right side of the arch while taking care to completely cover the pom pom maker.
When you reach the right side of the arch, make your way back to the left side of the arch, wrapping your yarn evenly around the pom pom maker. Wrap your yarn around the pom pom maker until the ‘half circle/moon’ shape underneath the arch is ‘full’.
*Filling in the arch is the key to getting a fluffy and full looking pom pom!
When one half of the pom pom maker is full of yarn, push the arches back into the centre of the pom pom maker (it should be a snug fit).
Trim your yarn.
Repeat yarn wrapping steps for the second pair of arches – wrap yarn evenly over arches until half circle shape is full of yarn, push arches back in, trim yarn.
Rotate your pom pom maker so that the side/edges are facing you. Insert your scissors into the gap in between the two halves of the pom pom maker.
Cut the yarn around the circle, letting the grooves of the pom pom maker guide your scissors.
Cut a long strand of yarn at least 40cm/16” long.
Insert strand of yarn in between the two halves of the pom pom maker. Pull yarn around the centre of the pom pom, tie a knot, pull tight, tie another knot.
Wrap yarn around the centre of the pom pom to the other side and tie a double knot.
Gently pull up each arch of the pom pom. Hold onto the centre of the pom pom and twist to pull apart.
*Go slow to remove your pom pom maker without pulling out any strands of yarn.
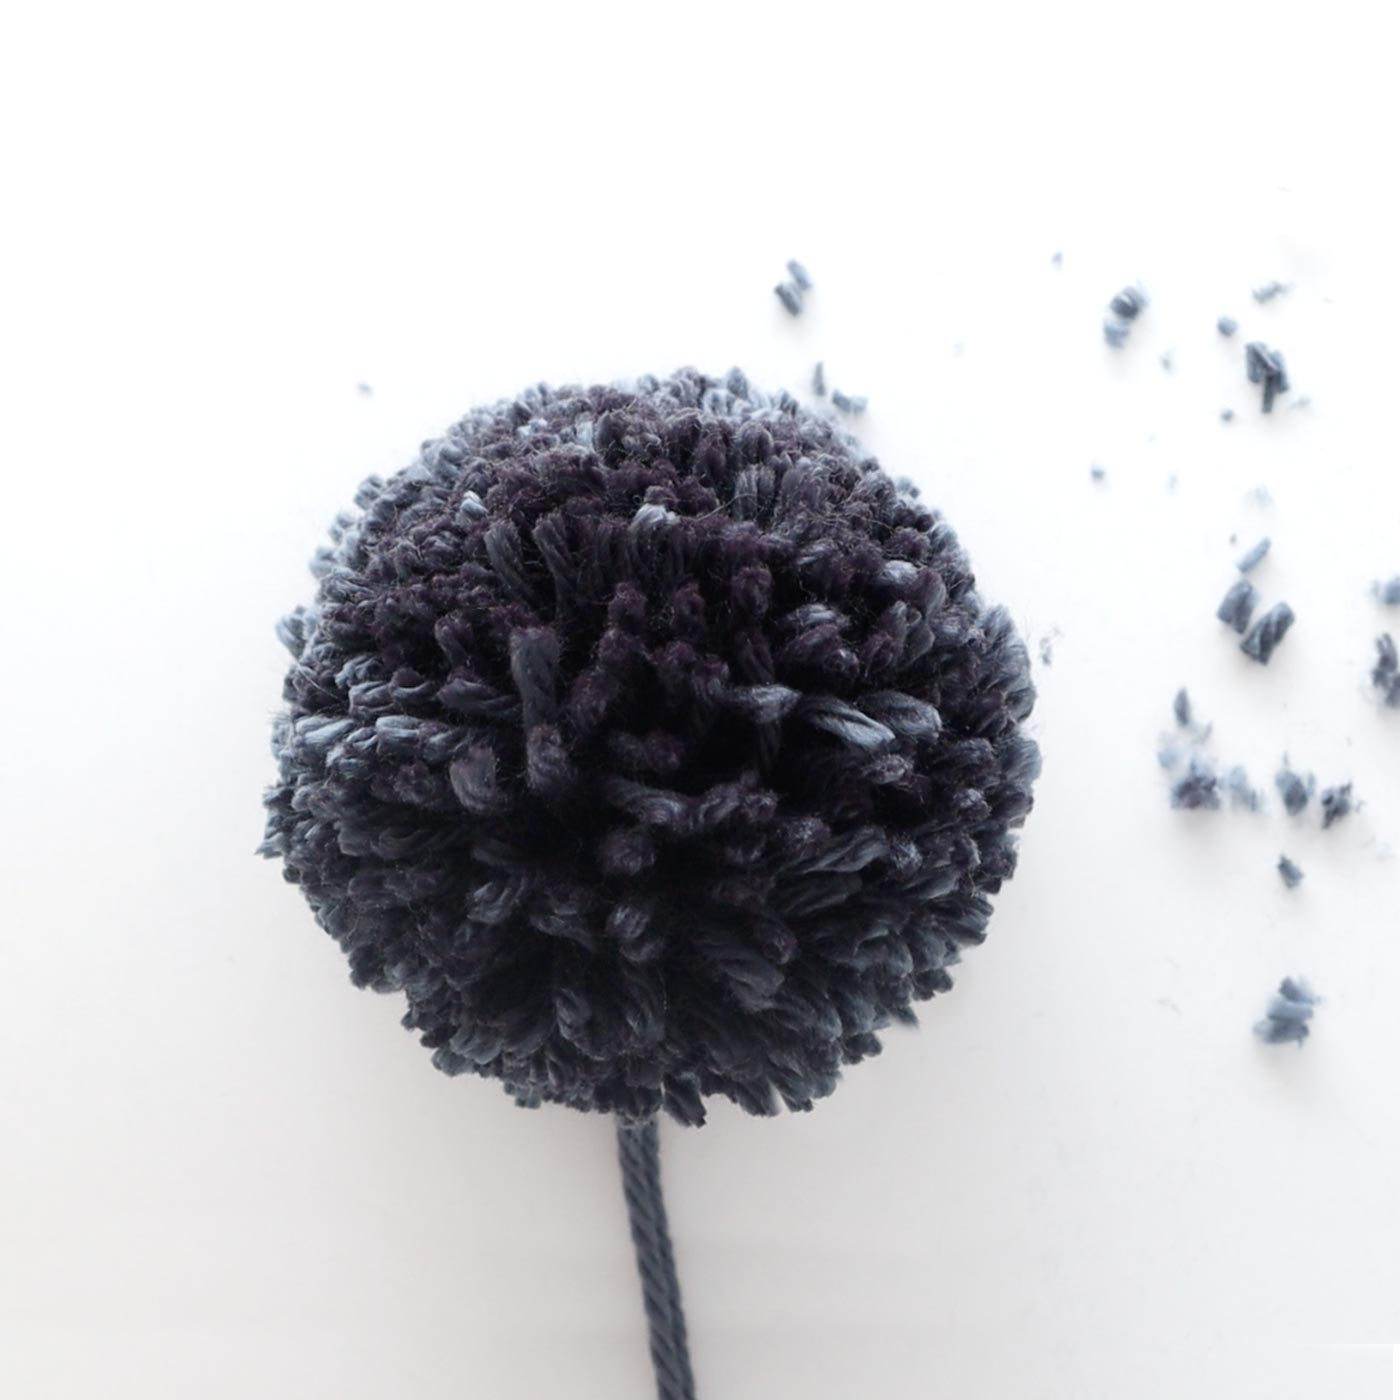
Trim any long strands on your pom pom to a make sphere shape.
*Leave the long tail of yarn alone as we’ll use this to sew your pom pom onto beanies, blankets etc.
Voilà! You have a pom pom 🙂
To attach your pom pom, simply thread the long tails of yarn with a darning needle and sew your pom pom into place.
Leave a Reply