Hi everyone! I’m so excited to share my latest free crochet pattern with you – the Magnolia Sweetheart Top!
This free crochet pattern is accompanied by a video tutorial.
This post may contain affiliate links, view our disclosure policy for details.
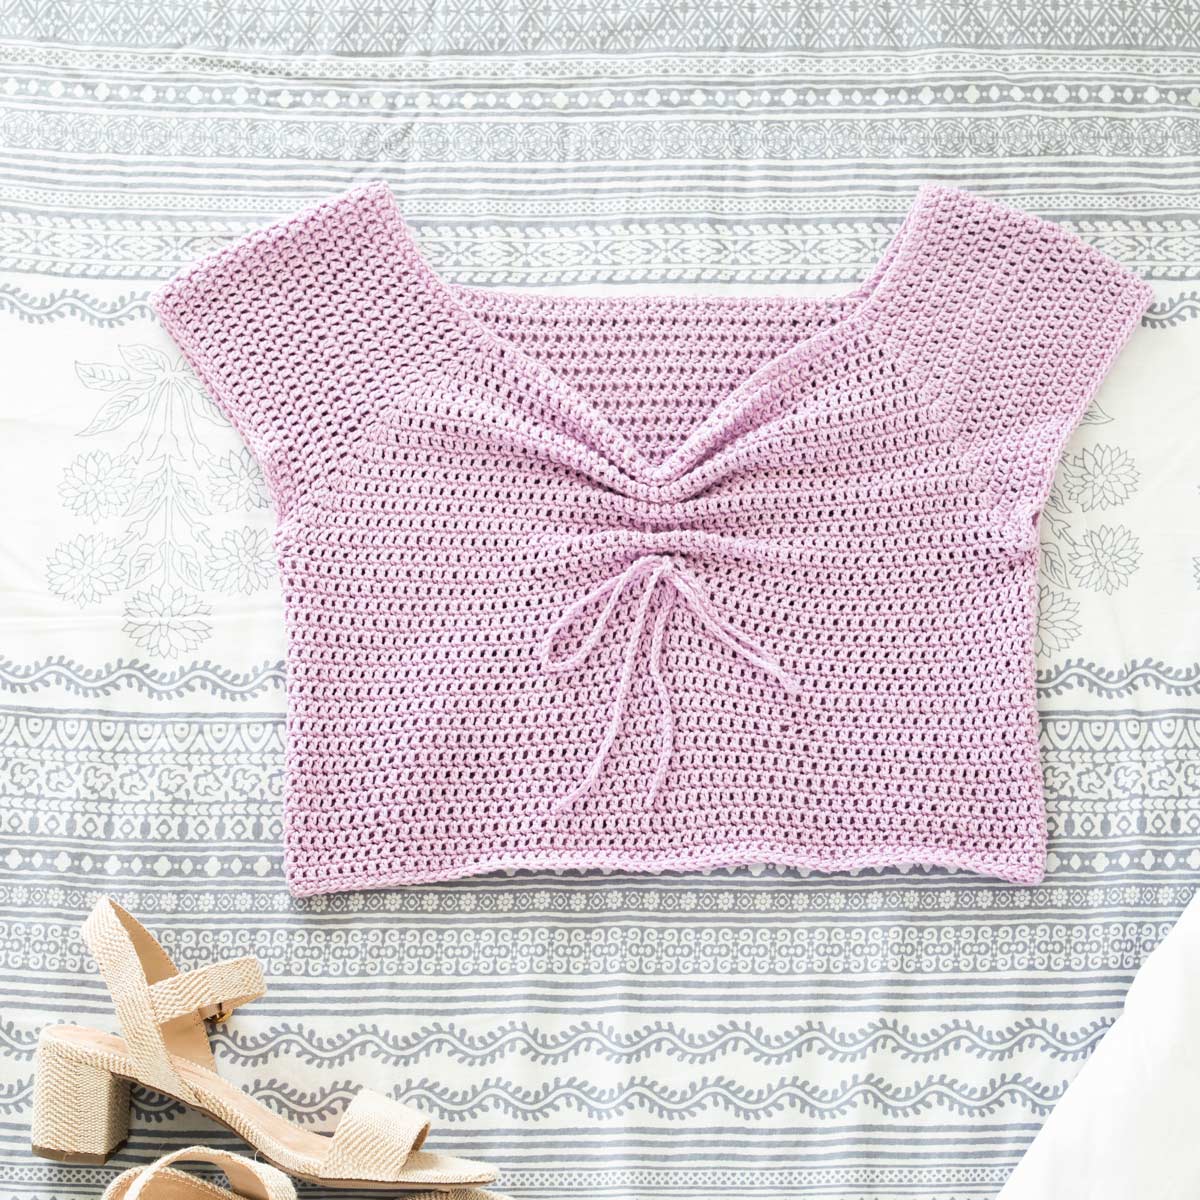
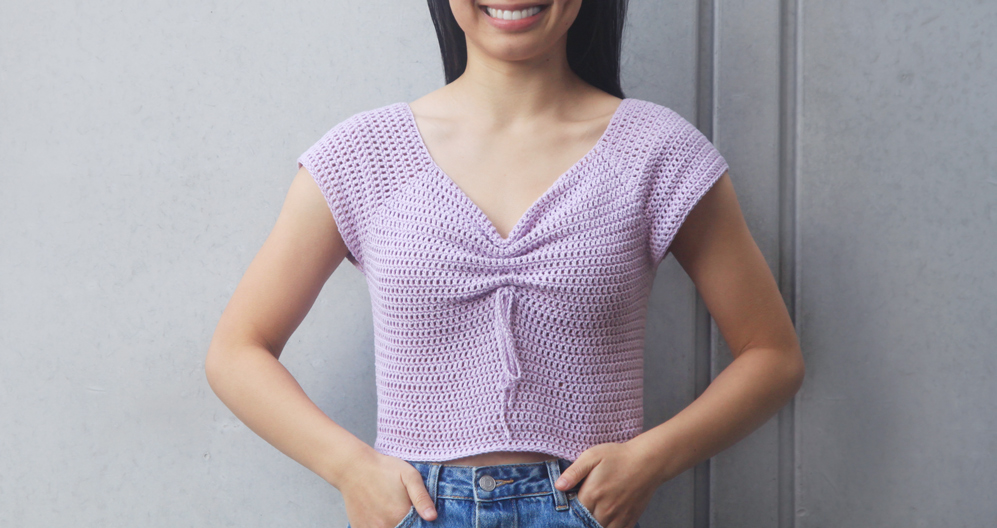
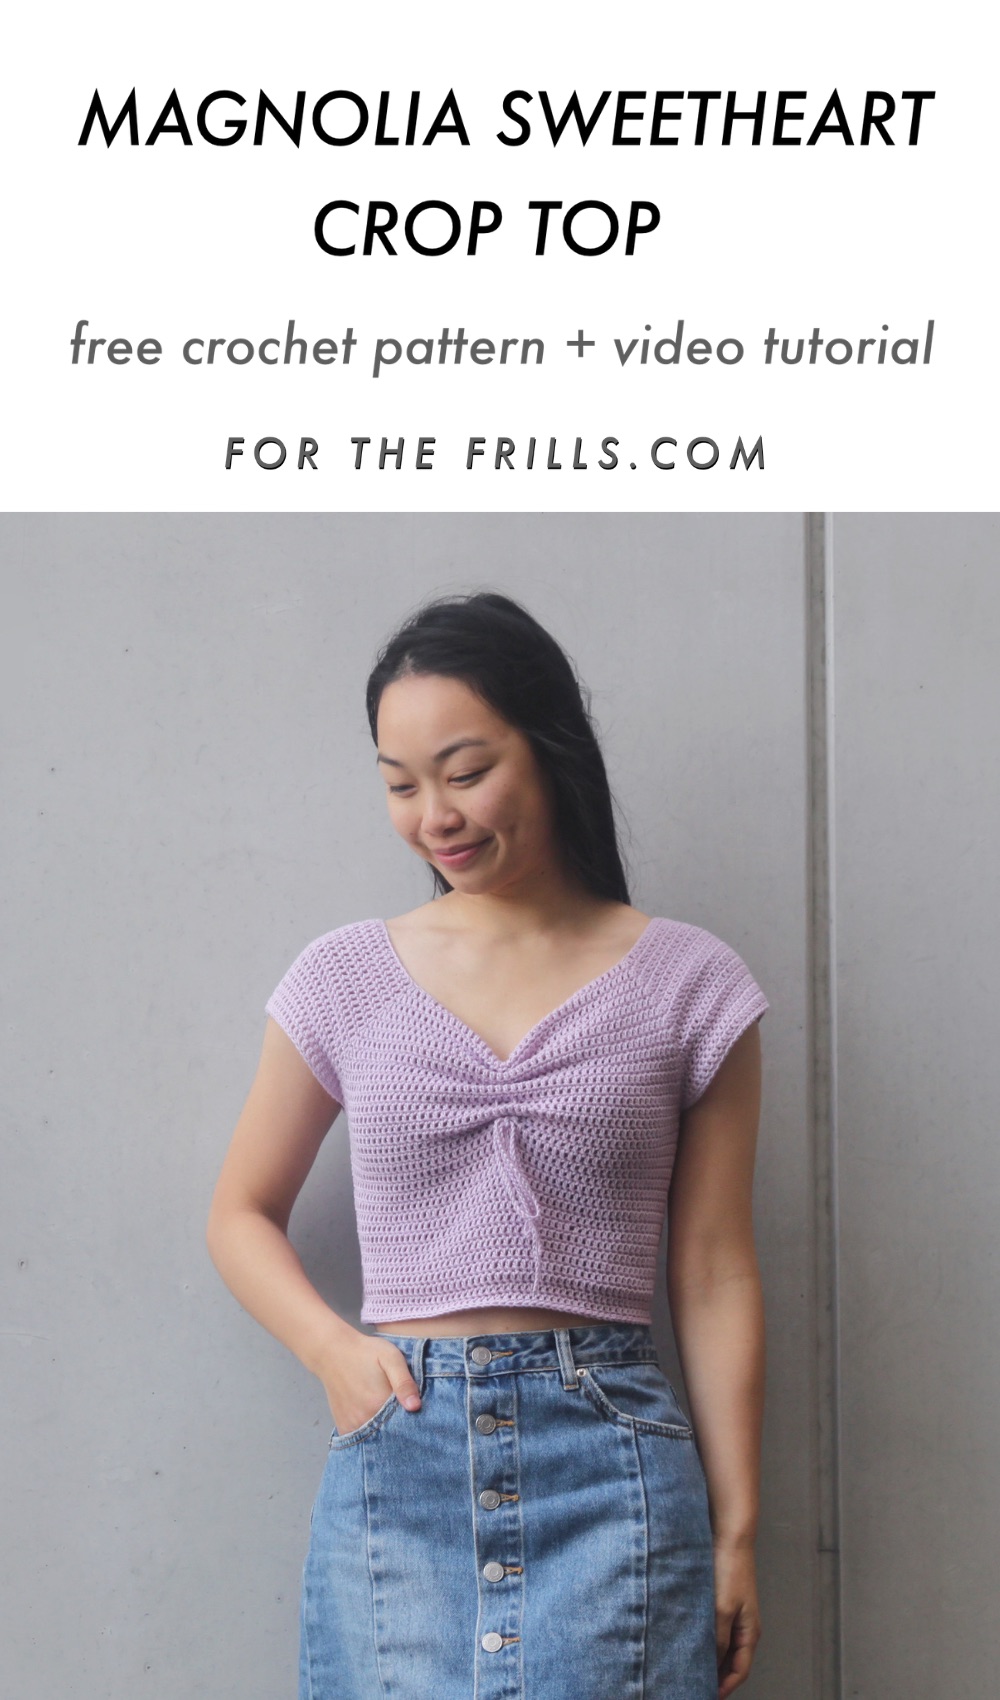
The Magnolia Top is a raglan style, crochet crop top with short sleeves and a sweetheart neckline. This design features a centre front tie detail that uses a crochet chain to create a ruched, sweetheart neckline.
This crochet top is worked from the top down so you can try it on as you go to find the perfect fit! Also, this pattern doesn’t need to be a crop top, you add or remove as many rows as you want so you can easily make a full length tee too.
Since the ruching is also customisable, the length and style of your top can be altered with a few tugs! I find that the tighter the gathers, the more the top sits like a t-shirt or if you leave the ruching lose you can create a summery, off the shoulder look 🙂
Design Inspiration
Thanks to the nature of crochet stitches, tie front tops are super easy to make. Since all crochet stitches are ‘closed’ you can easily weave a chain throughout your garment, so I was surprised that there are hardly any crochet patterns featuring a sweetheart neckline!
They are so flattering on a wide variety of body types and since this design is customisable it’s up to you how deep you’d like yours to be. I wanted to create a tee shaped top with no waist shaping so that this top would be easy and comfortable to wear.
Check out more free crop top patterns!
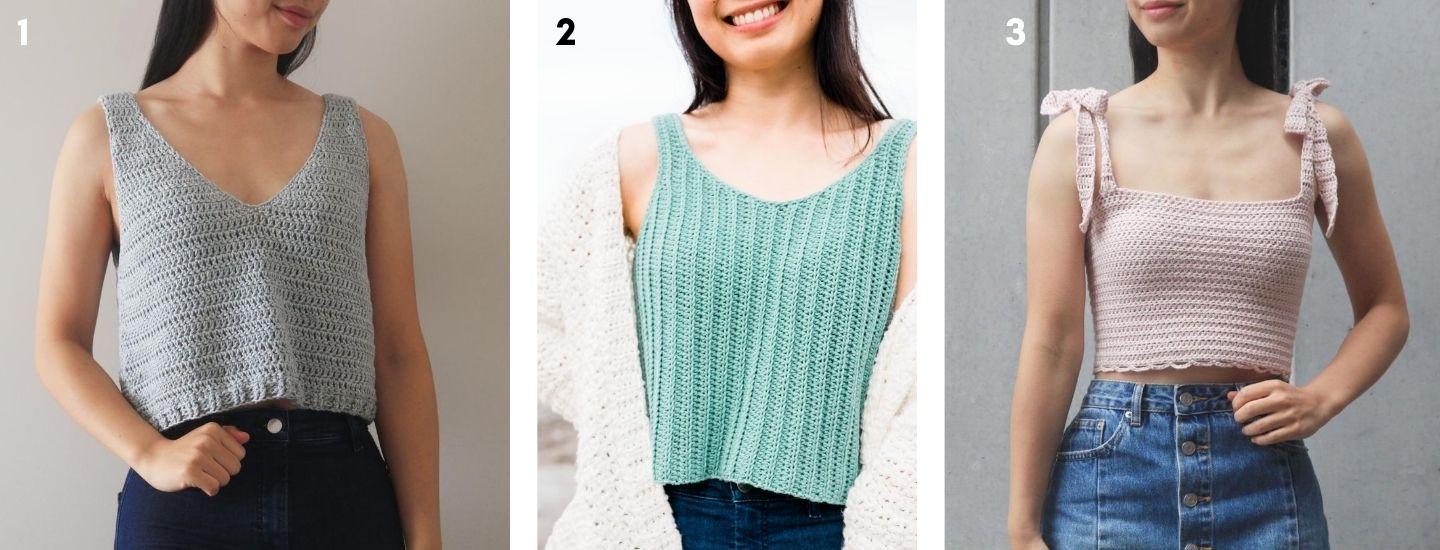
1. Sea Breeze Tank Top / 2. Sagebrush Tank Top / 3. Tie strap Crop Top
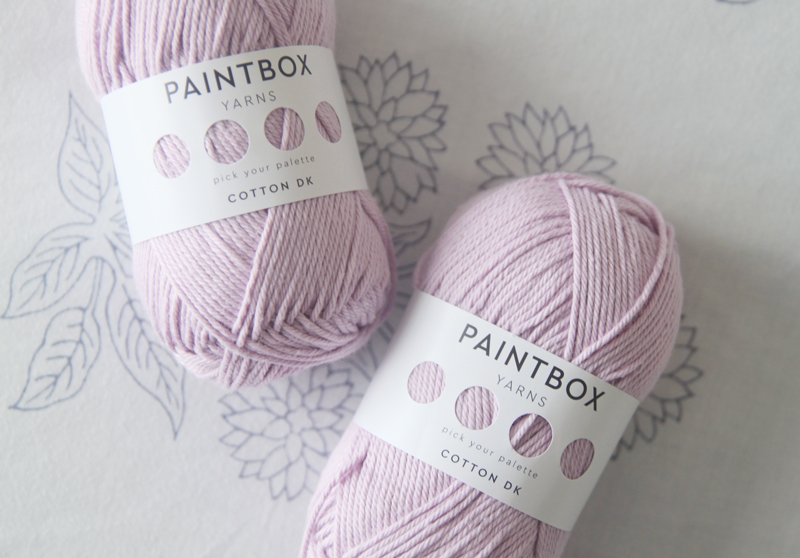
Yarn
For this pattern I decided to use a 100% cotton yarn - Paintbox Yarns Cotton DK, and I absolutely love the result! The cotton yarn is perfect for summer and Paintbox Yarns has an enormous colour selection. There are 49 shades and they cover just about everything from brights to pastels to neutrals!
This yarn is super soft, cooling and tightly wound together so it doesn’t split with a crochet hook. If you’d like a top with more stretch, the Magnolia Top would look great in a cotton blend or you could work up a merino wool version for winter!
Pin me for later!
Video Tutorial
Add the Magnolia Crop Top to your Ravelry queue!
Magnolia Crop Top - Ad-free, printable pdf version!
*The sizing guide follows size XS(S, M, L, XL, 2XL, 3XL). E.g. “Ch 116(124, 124, 132, 132, 140, 140) means Ch 116 for XS, Ch 124 for Small, Ch 124 for Medium, Ch 132 for Large, Ch 132 for XL, Ch 140 for 2XL and Ch 140 for 3XL.
*"DC 10" means DC into the next 10 stitches.
*"3DC" means place 3 DC into the same stitch.
*Ch 1 and 3 always count as a stitch unless otherwise noted.
*Ch 3 can be replaced by a no turning chain stitch.
*Total stitches are indicated between < >.
*This pattern uses US crochet terms.
*This design is worked from the neck down, so you can try on the garment while working and customise the length and fit.
Materials
Yarn – Paintbox Yarns Cotton DK – DK/Light(3)/8 ply, 125m/50g, 100% Cotton, Dusty Rose (442)
4(4, 5, 5, 6, 6, 7) skeins
Stitches & Abbreviations
Ch = Chain
Sl st = Slip Stitch
SC = Single Crochet
SC2tog = Single Crochet 2 Stitches Together
DC = Double Crochet
St(s) = Stitch(es)
Rep = Repeat
LEVEL: Easy
GAUGE: 10cm/4” square = 16 stitches wide x 10 rows tall in double crochet
Measurements cm
Width: 35(39, 43, 48, 53, 59, 65)
To fit Bust: 76(86, 97, 107, 117, 127, 137)
Armhole: 14(15, 17, 18, 20, 23, 25)
Length: 38(38, 41, 41, 43, 43, 46)
Measurements inches
Width: 14(15.5, 17, 19, 20.5, 23, 25.5)
To fit Bust: 30(34, 38, 42, 46, 50, 54)
Armhole: 5.5(6, 6.5, 7, 8, 9, 10)
Length: 15(15, 16, 16, 17, 17, 18)
Sweetheart Crop Top Crochet Pattern
YOKE
FOUNDATION CHAIN: 116(124, 124, 132, 132, 140, 140), Sl st into the first chain. Make sure your ring of chains is not twisted!
ROUND 1: Ch 3, DC 32(34, 34, 36, 36, 38, 38), 3DC into the same st – insert a st marker on top of the 2nd st in the 3 DC cluster.
DC 23(25, 25, 27, 27, 29, 29), 3DC – insert a st marker on top of the 2nd st in the 3DC cluster.
DC 33(35, 35, 37, 37, 39, 39), 3DC – insert a st marker on top of the 2nd st in the 3DC cluster.
DC 23(25, 25, 27, 27, 29, 29), 3DC – insert a st marker on top of the 2nd st in the 3DC cluster, sl st to join.
<124(132, 132, 140, 140, 148, 148)>
*After every 3DC cluster move the stitch marker on top of the 2nd stitch.
ROUND 2: Ch 3, DC 33(35, 35, 37, 37, 39, 39), 3DC, DC 25(27, 27, 29, 29, 31, 31), 3DC, DC 35(37, 37, 39, 39, 41, 41), 3DC, 25(27, 27, 29, 29, 31, 31), 3DC, DC 1, sl st to join.
<132(140, 140, 148, 148, 156, 156)>
ROUND 3: Ch 3, *DC in every st until the st marker, 3 DC into the st a st marker; rep from * three more times, DC in each st until the end of the round, sl st to join.
<140(148, 148, 156, 156, 164, 164)>
Repeat ROUND 3 until ROUND 13(14, 16, 18, 21, 23, 26).
<220(236, 252, 276, 300, 324, 348)>
*Try on the yoke and the st markers just touch below the underarms. You can add or remove rows for a looser or more sung fit.
BODY
JOINING ROUND: Ch 3, DC in every st until the 1st st marker, DC into the st with a st marker, DC into the next st with a st marker (you have created your first armhole). DC in every st until the 3rd st marker, DC into the st with the 3rd st marker, DC into the last st with a st marker (you have created your second armhole). DC in each st until the end of the round, sl st to join.
<122(130, 138, 150, 162, 174, 186)>
ROUND 2: Ch 3, DC in each st of the round, sl st to join.
<122(130, 138, 150, 162, 174, 186)>
Repeat ROUND 2 until ROUND 18(18, 20, 20, 22, 22, 24).
*You can add or remove rows to alter the length of your top.
FINAL ROUND: Ch 1, SC in each st of the round, sl st to join. Fasten off.
<122(130, 138, 150, 162, 174, 186)>
SLEEVES
Insert your hook in any stitch along the armhole, secure your yarn and pull through a loop.
ROUND 1: Ch 1, SC in each st of the round, place 2 SC2tog in between the st markers, sl st to join. Fasten off.
<53(57, 61, 67, 73, 79, 85)>
Weave in all of your ends. Steam and block your project.
SWEETHEART NECKLINE
Chain: Ch 170 (or a chain that measures 80cm/31.5”). Fasten off and trim excess yarn.
In the middle of the top, weave the chain up and under every 2 rows (you can use a crochet hook to help you). When you reach the neckline, skip 2 stitches and weave the chain across to the other side. Weave the chain up and under every 2 rows until the bottom of the top. Pull on both sides of the chain and tie a bow.
*Note - You can thread the chain halfway down the top and gather the bust (as pictured) or leave out the chain completely. Feel free to experiment to see what style you prefer 🙂
This top is one of my favorite tutorials from you! It was so easy, but looks a little advanced. This top fits perfectly. I chose to do the off the shoulder technique that looks gorgeous. Thank you for this lovely tutorial!
Thank so much Grace for sharing this pattern, I’ve been looking for this top all summer! Do u think that I could make this in an acrylic weight yarn, maybe a sports weight? How much yarn would it take for a medium size?
Thanks so much again for your generosity with your pattern!!
Hi Cathrin, if you use a different type of yarn you can follow this pattern as a guide but your gauge will be different so I can't guarantee that your top will look like the sample or the yarn amounts you'd need sorry! As a general rule, I'd probably get a few extra skeins just to be safe!
Grace
What is the width in measurement portion referring to?
Will fingering acrylic yarn work for this...
It's all about gauge. You can use any yarn as long as you match your gauge and or adjust the pattern for your gauge with the yarn you're using.
When getting into the bigger sizes, I believe you may need to edit. You are increasing by 8 stitches from the Foundation Row to Row 1. When working size 2XL, you only get a total of 148 stitches by the end of Row 1. In order to get 156 stitches by the end of Row 1 you would need to cast on 148 stitches and then do sections of 41 stitches and 31 stitches between the 3DC clusters. If you ever would like someone to look over your work when it comes to bigger sizes I would be more than welcome to offer my services in the future.
If working on 2XL or 3XL you will need to Cast on 148 stitches. Row 1 will be 41 DC, 3DC, 31 DC, 3DC, 41 DC, 3DC, 31 DC, 3DC.
ACTUALLY!! If you are working on 2XL or 3XL you'll want to cast on 140 stitches and you will end with 148 stitches. On ROW 2 is when you will get 156 stitches! I've spend 2 hours on this don't make the small mistakes I did.
If making a 2XL or 3XL you will end with 148 stitches in Row 1.
Hi Gabriella,
So sorry for the error! Thanks for pointing it out - I've updated the pattern.
Grace 🙂
I found it hard to follow both the video and the written pattern - you were following the instructions for the size small, but you kept going back and forth between the x-small numbers. For example, in round one, you started by doing 33 DC's, and then putting the 3DC in the 34th stitch (which is accurate for the size small). But for the next part, you did 23 DC's and 3DC in the 23rd stitch, which is for the size x-small..... I followed all written instructions for size x-small, and ended up with only having 120 final stitches instead of 124. I'm not sure if I'm just not following the pattern correctly, but overall i just found this to be too confusing as a beginner!
When you join with a slip stitch at the top of the chain three at the end of each round, it ends up leaving a little gap. Is there any way of fixing this?