Learn how to braid a rope with 4 strands of yarn! This easy braided rope can be used as a belt for crochet dresses, cover ups and tops or as a drawstring for back packs or straps on a crochet bag!
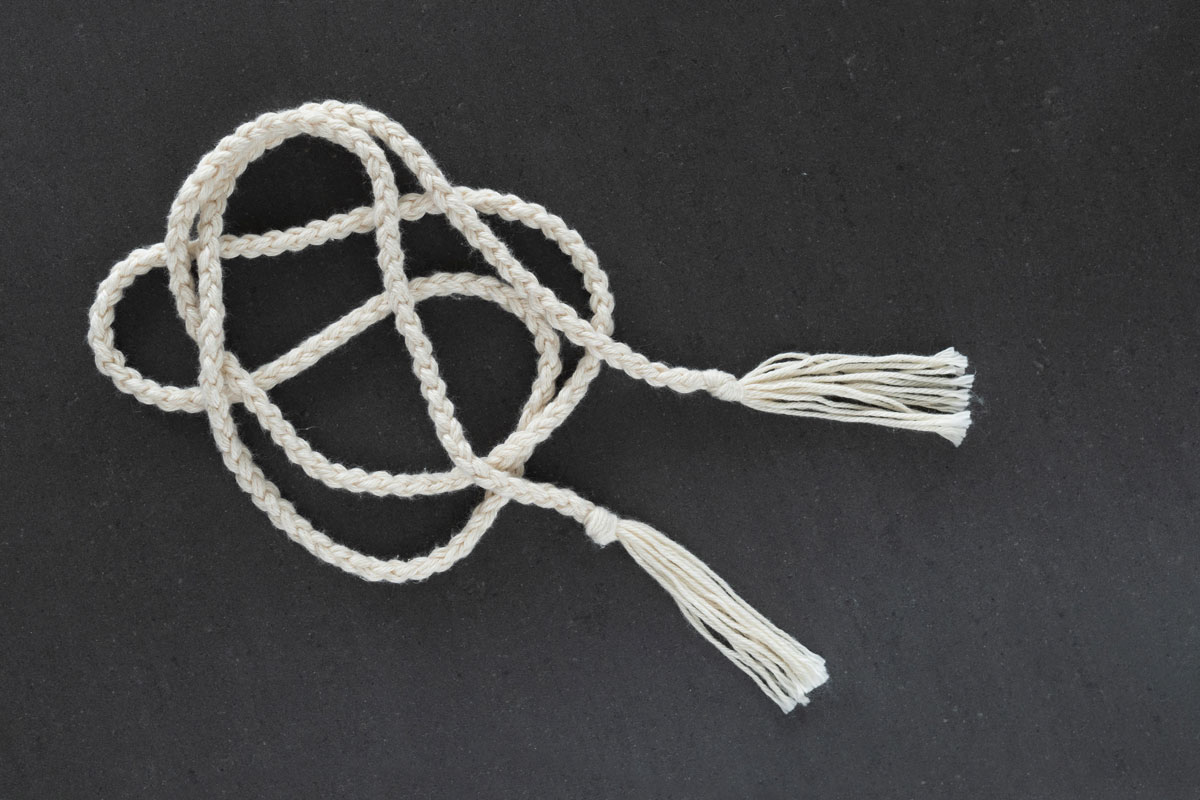
The 4 strand braid is one of the easiest braided ropes you’ll ever make! There are only 4 steps that you just repeat over and over until you reach your desired length.
Scroll down for the step-by-step video tutorial and there's also a photo tutorial!
This post may contain affiliate links, view our disclosure policy for details.
If you love waist definition, the 4 strand braided rope is the perfect belt to match any summer crochet dress. When I was designing the Seascape Scallop Dress, I really wanted to be able to change the shape between the flowy, loose drape to a more fitted look. Belts are the easiest way to achieve different silhouettes without permanently changing the design!

Initially I wanted to crochet a belt to match the Seascape Dress but ultimately the thick belt was too overpowering and I decided a simple braided cord would look best. This 4 strand rope has ‘nautical’ look to it and the best part is you can literally use this braid as a belt for any dress (even if they aren’t crocheted!).
You’ll want to use strands for yarn that are approximately 1.5 times longer than the length of your desired cord / belt. For example, if you want a 100cm braid, 100 x 1.5 = 150. So, you’ll need to cut 4 strands of yarn that measure long 150cm.
The thicker the yarn, the more yarn you’ll need so if you’re using a really thick yarn I’d suggest cutting a bit extra (closer to 2 times the length of your cord) just to make sure you have enough.
One thing to note is that in the example photos I’m using ‘4 sets’ of 4 strands of yarn, so 16 strands of yarn in total. I was using a quite a light yarn (a thick sport weight yarn – WeCrochet’s Simply Cotton Organic Sport), so I used multiple strands of yarn in each ‘set’ to make the braid thicker. If you’re using a thicker yarn you can simply use 4 strands of yarn.
Any multiple of 4 will work e.g. 8 strands of yarn = 4 sets with 2 strands of yarn in each set, 12 strands of yarn = 4 sets of 3 strands of yarn in each set etc. The more strands of yarn you have in each ‘set’ the thicker your braid, the fewer the strands of yarn you have in each ‘set’ the thinner your braid.
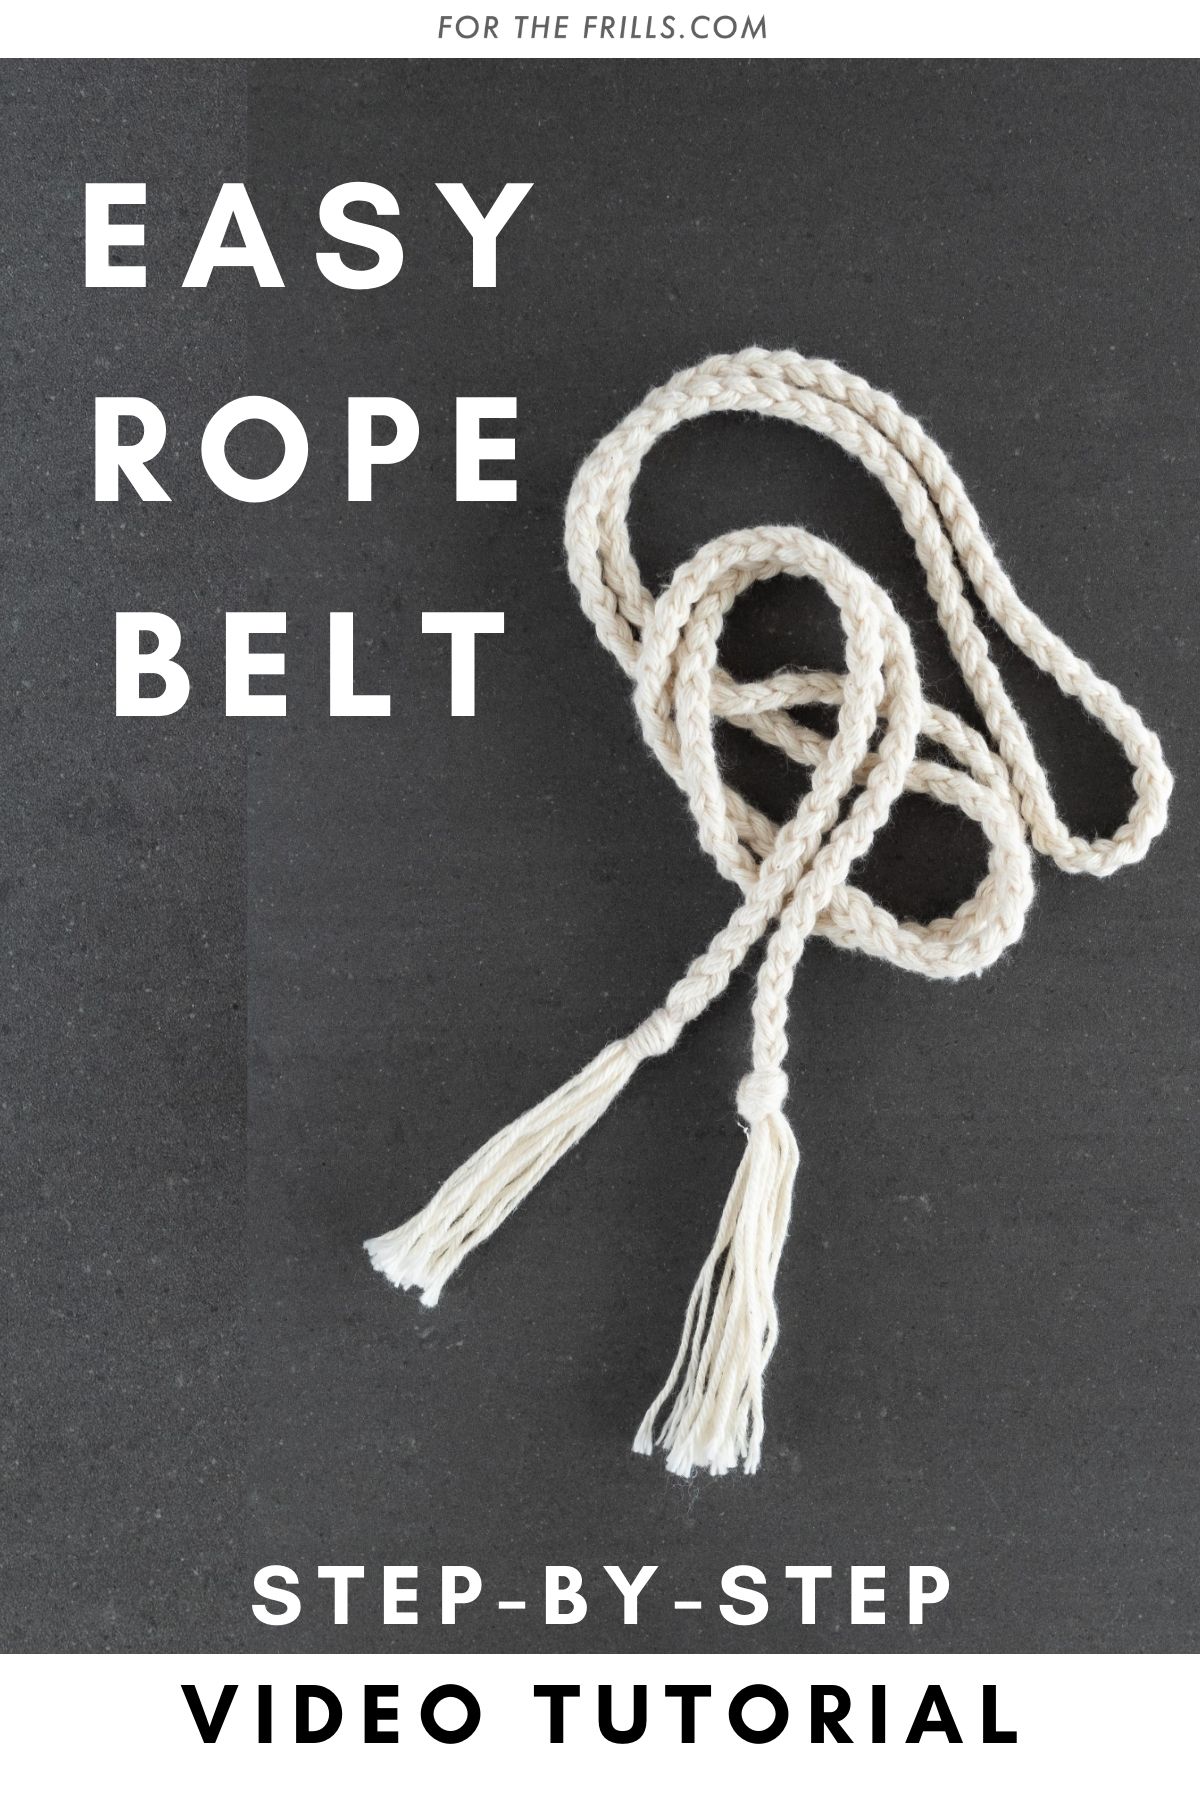
Pin me for later!
4 Strand Braided Belt Tutorial
Notes
*Sample braid uses 16 strands of yarn in total. The 16 strands of yarn are separated into ‘4 sets’ of 4 strands of yarn. Each set has 4 strands of yarn.
*You can use any multiple of 4 for your strands of yarn. 8 strands of yarn = 4 sets with 2 strands of yarn in each set, 12 strands of yarn = 4 sets with 3 strands of yarn in each set etc.
*Fewer strands of yarn = thinner braid, more strands = thicker braid.
*Hold onto the yarn tightly as you braid to create a neat and tight cord.
* Approx. length of yarn = Desired Length of belt x 1.5
e.g. if you want a 100cm braid (100 x 1.5 = 150), cut 150cm long strands of yarn.
*The thicker the braid, the more yarn you’ll need so if you are using chunky yarn (or thicker) cut yarn length approx. 2 times the length of cord.
Materials
Yarn
*Sample braid uses WeCrochet Simply Cotton Organic Sport.
Scissors
Removable Tape (washi tape or painter's tape works best)
Photo Tutorial
TO PREPARE
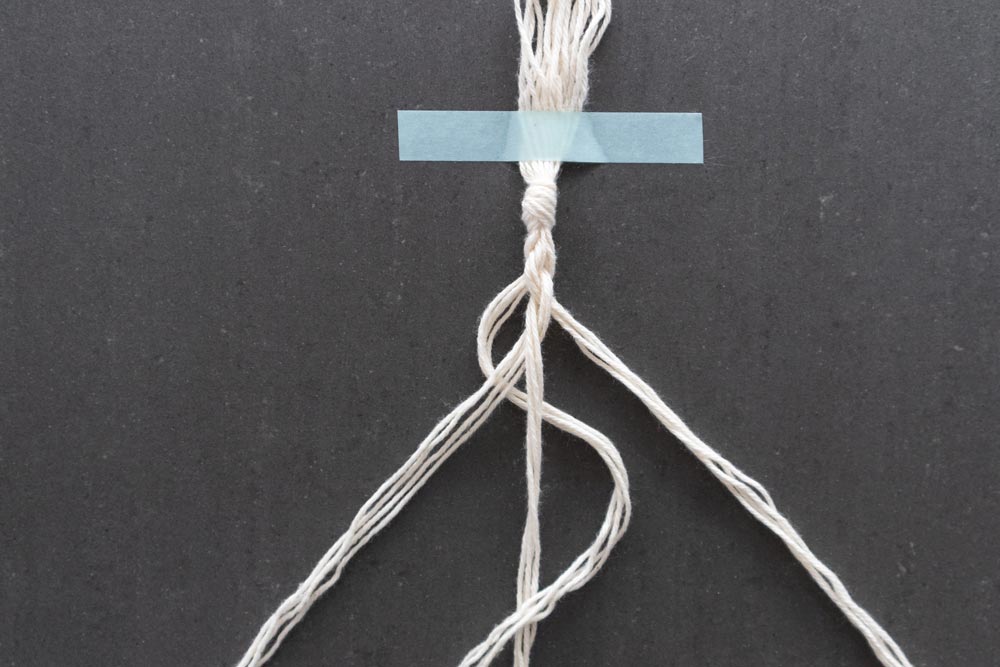
1. Cut 16 (or any multiple of 4) strands of yarn.
2. Holding all the strands together, tie a knot towards the end of the yarn leaving a 10cm / 4” tassel.
3. Tape the tassel to a flat surface.
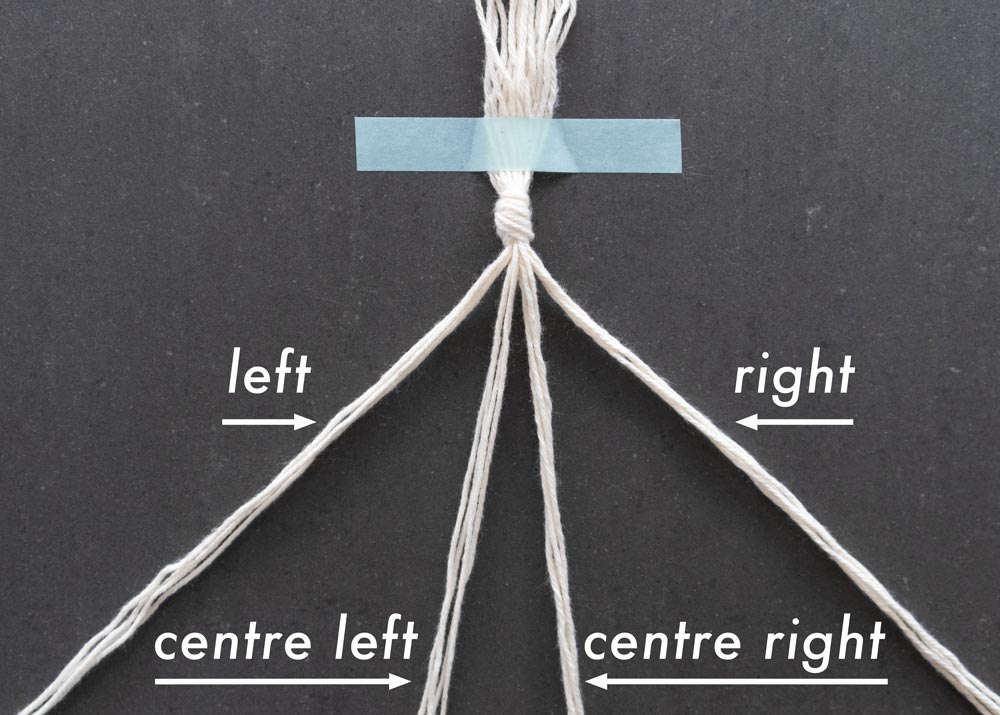
4. Separate your strands of yarn into 4 sets of yarn. If using 16 strands, each set should have 4 strands.
TO BRAID CORD
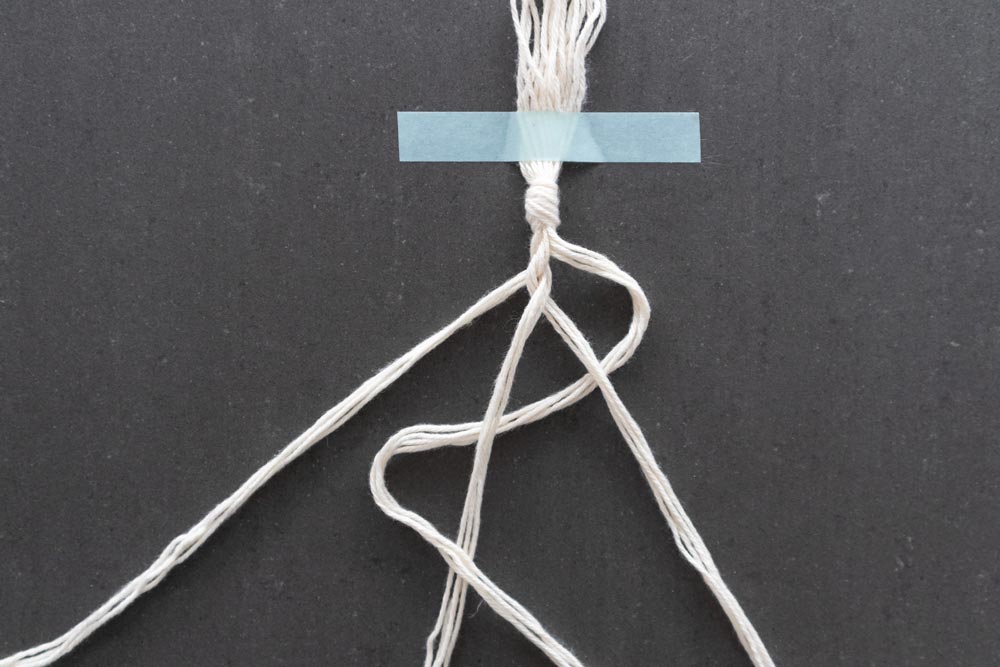
5. Holding the yarn tight, take the RIGHT set of yarn and bring it underneath the CENTRE RIGHT and CENTRE LEFT sets of yarn …
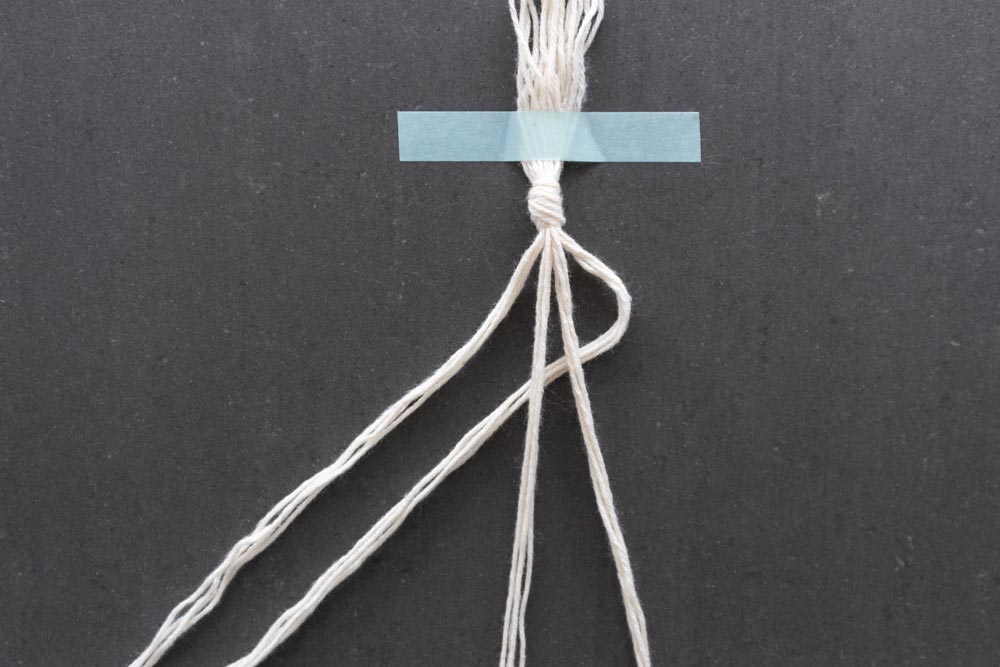
6. … Wrap the RIGHT set of yarn over the CENTRE LEFT set of yarn.
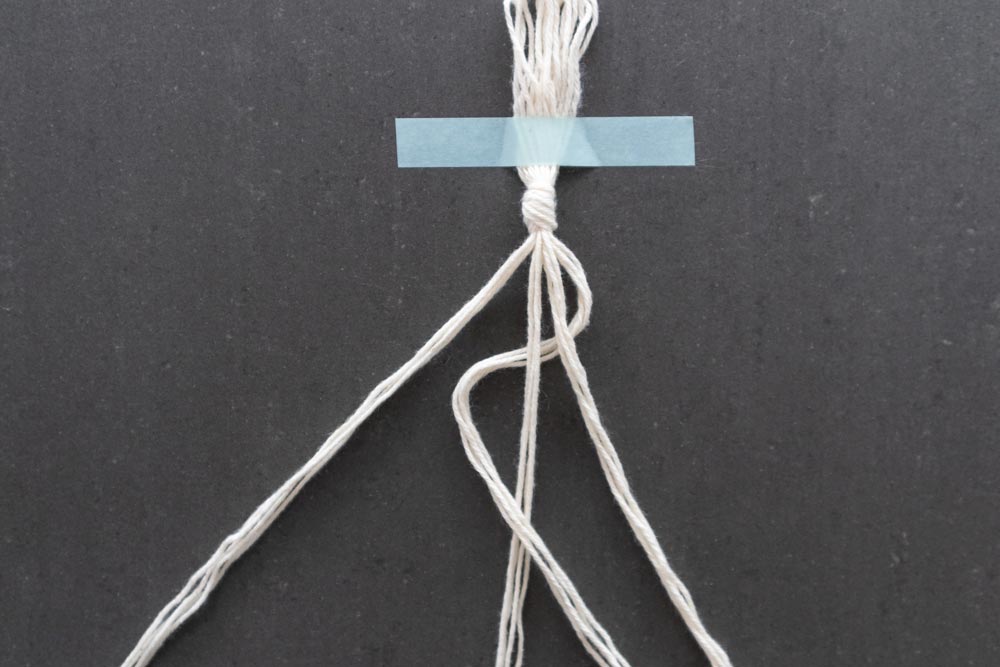
Pull tight.

7. Pick up the LEFT set of yarn, bring it underneath the CENTRE LEFT and CENTRE RIGHT sets of yarn …
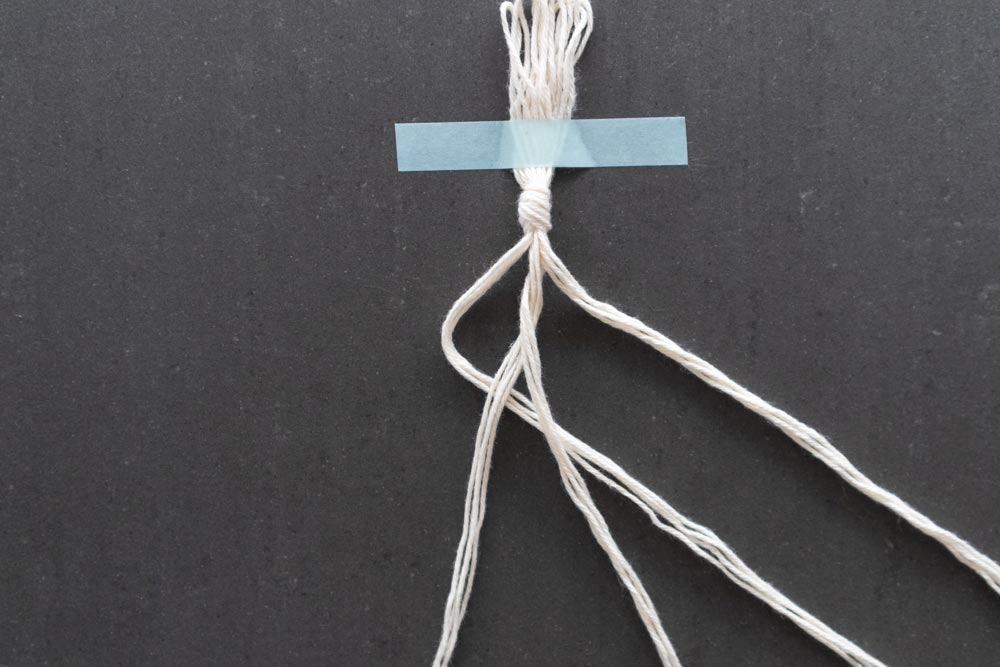
8. … Wrap the LEFT set of yarn over the CENTRE RIGHT set of yarn.

Pull tight.
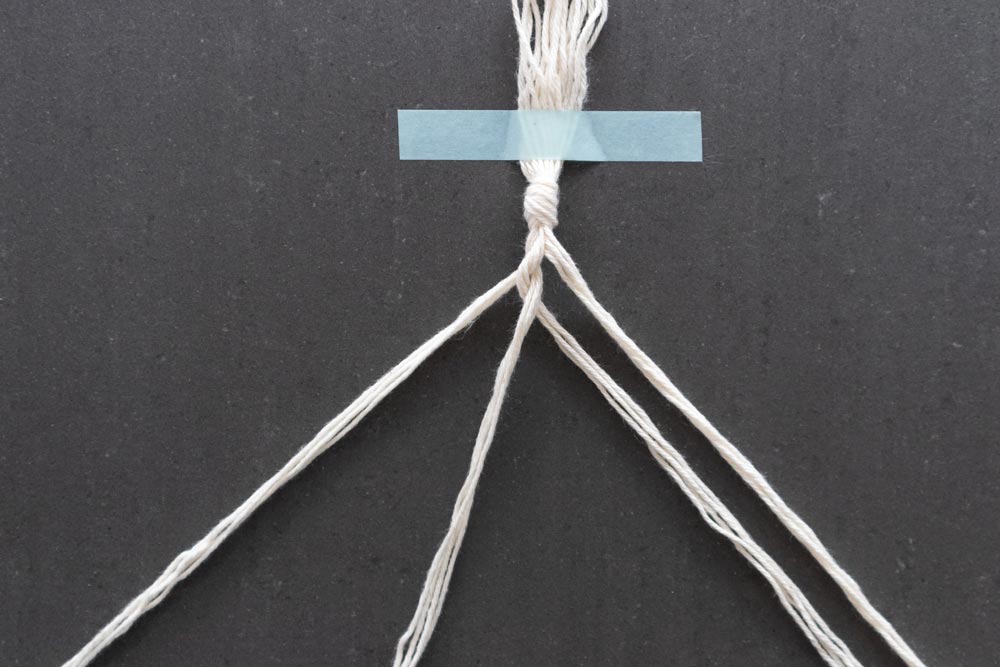
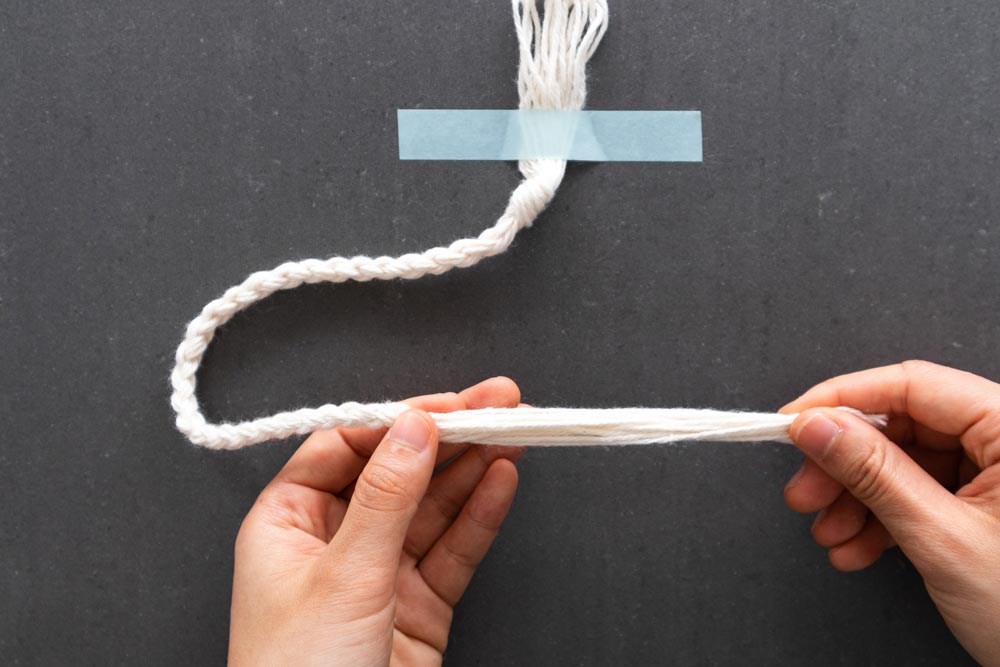
Repeat steps 5 – 8 until you have approx. 12cm / 5” of yarn left.
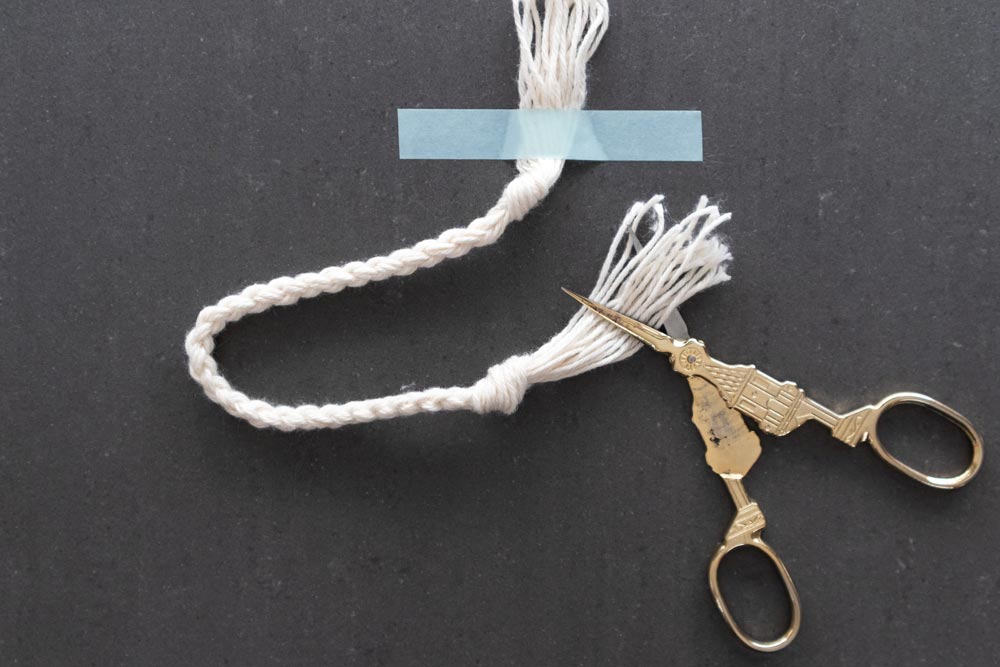
9. Pinch the base of the braid ...
... Tie a knot.
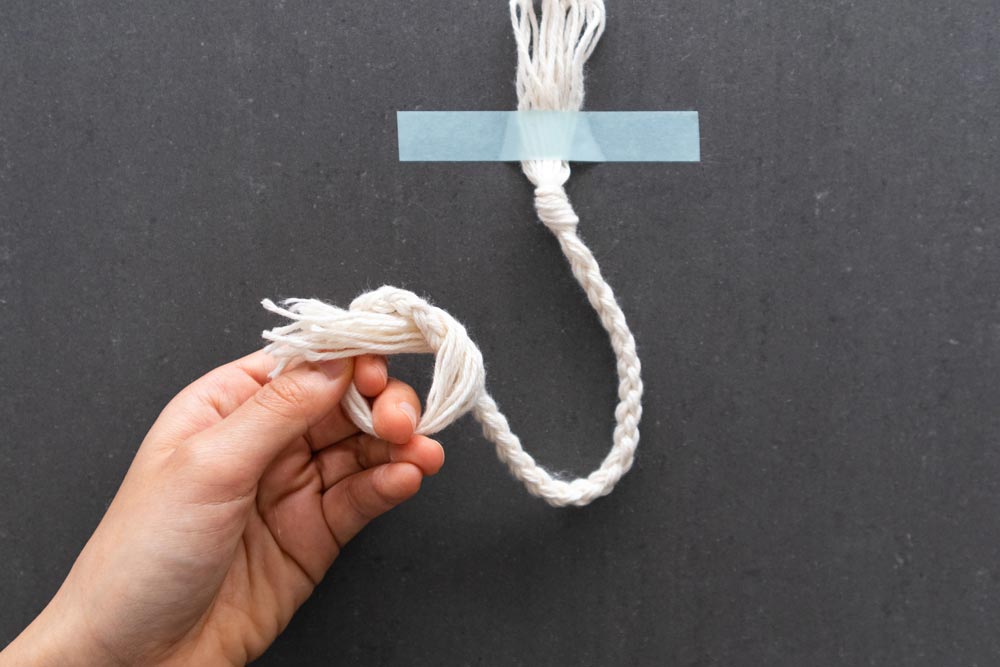
Pull tight.
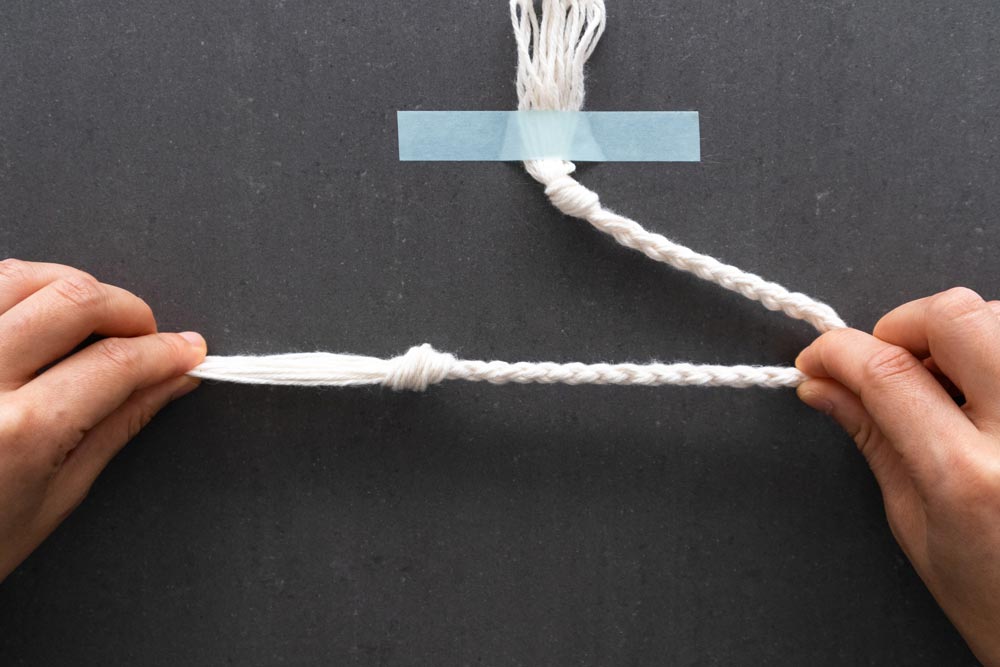
10. Trim tassel.
And you’ve created a braided belt / cord / strap !
Leave a Reply