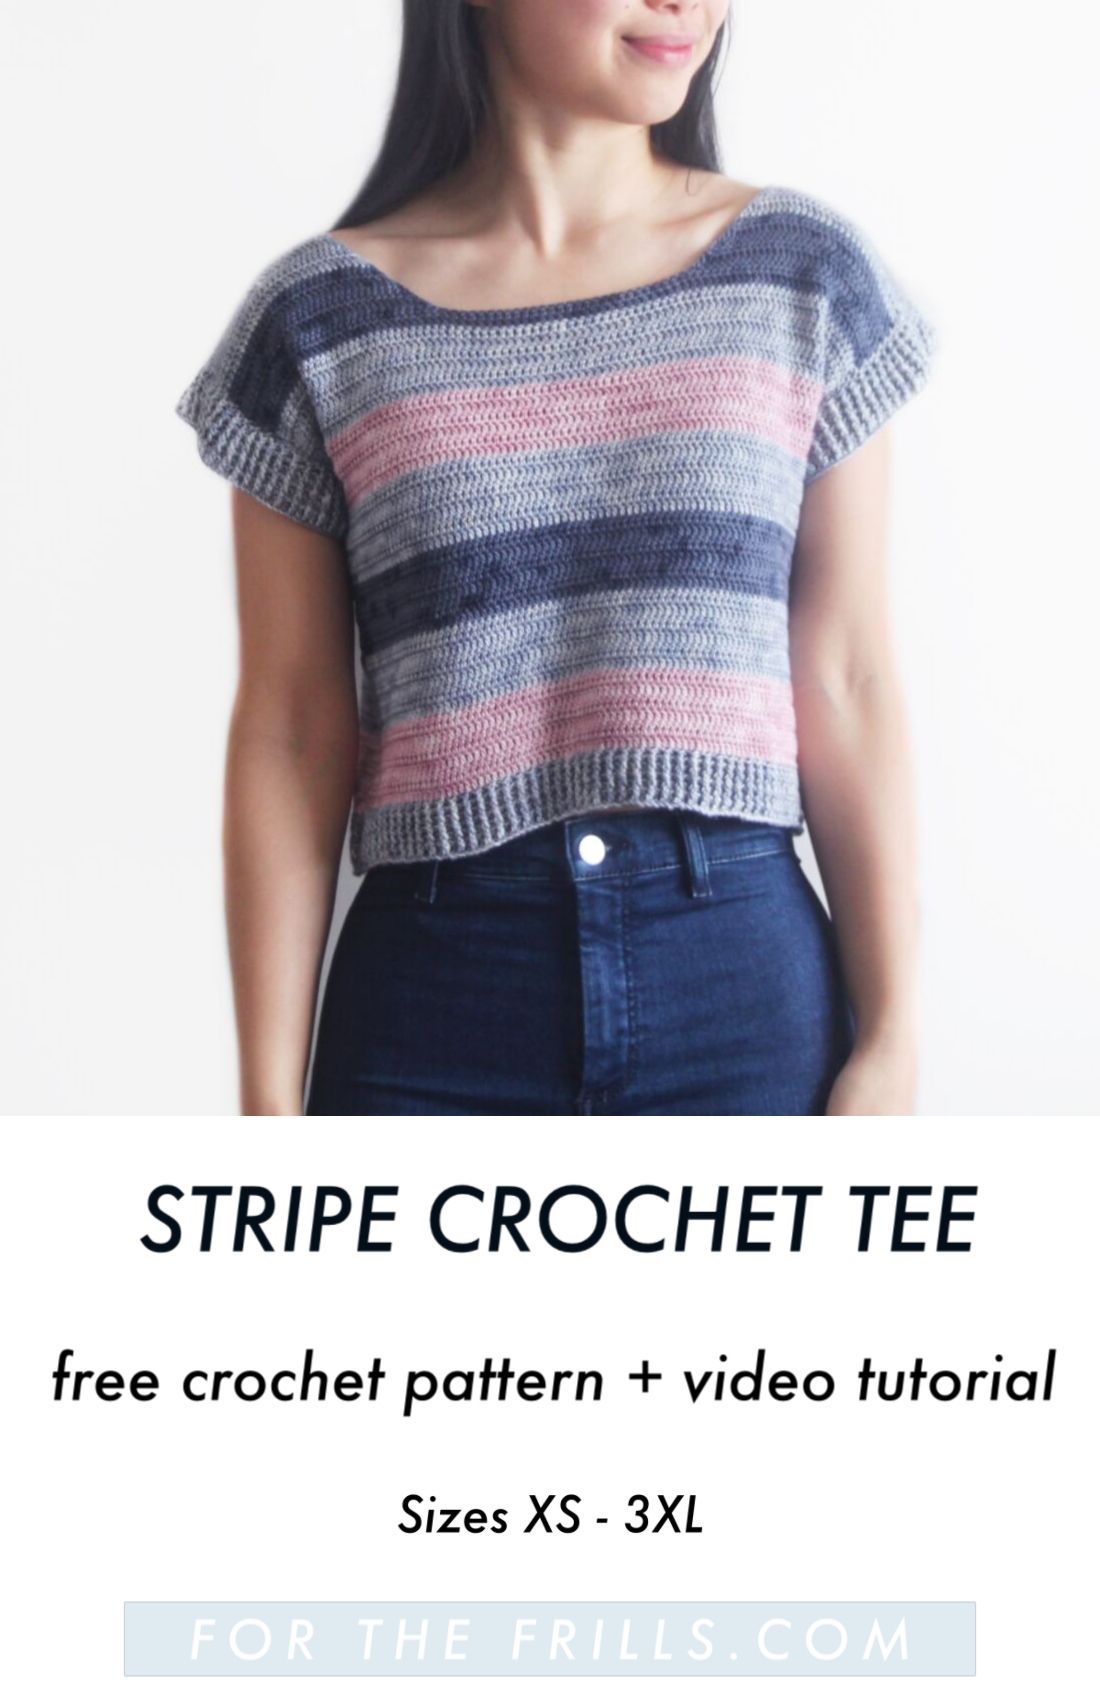
The Riviera Striped Tee is a great end of summer crochet make!
This free crochet pattern is accompanied by a video tutorial.
This post may contain affiliate links, view our disclosure policy for details.
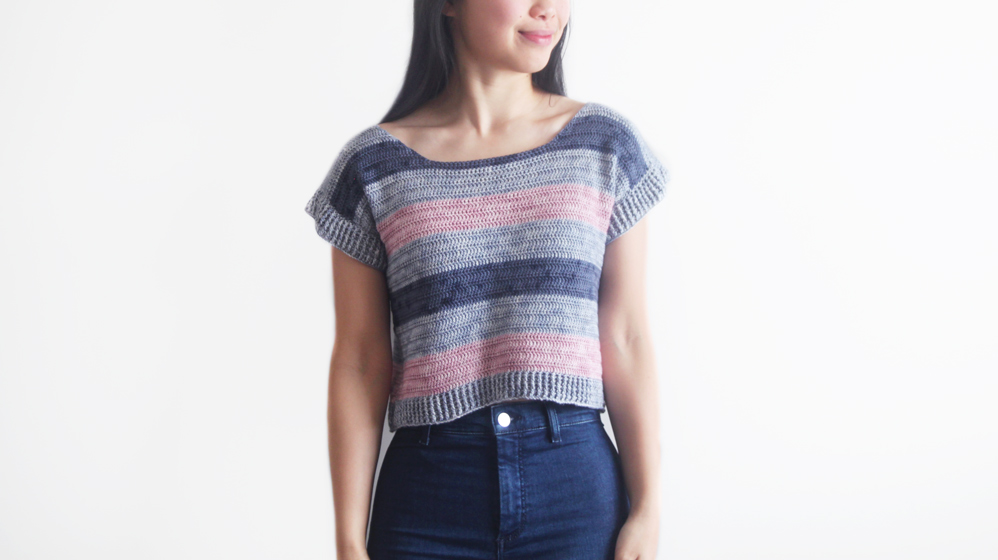
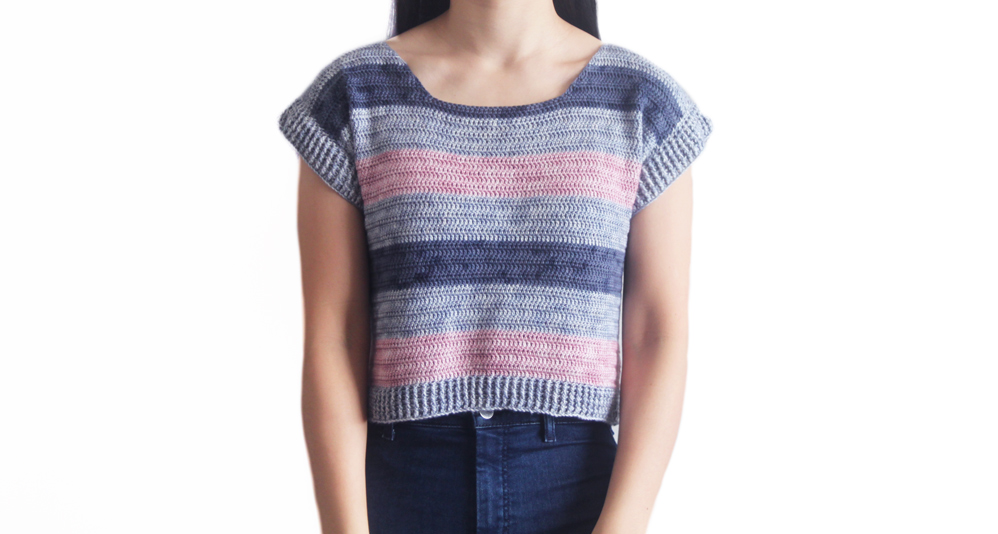
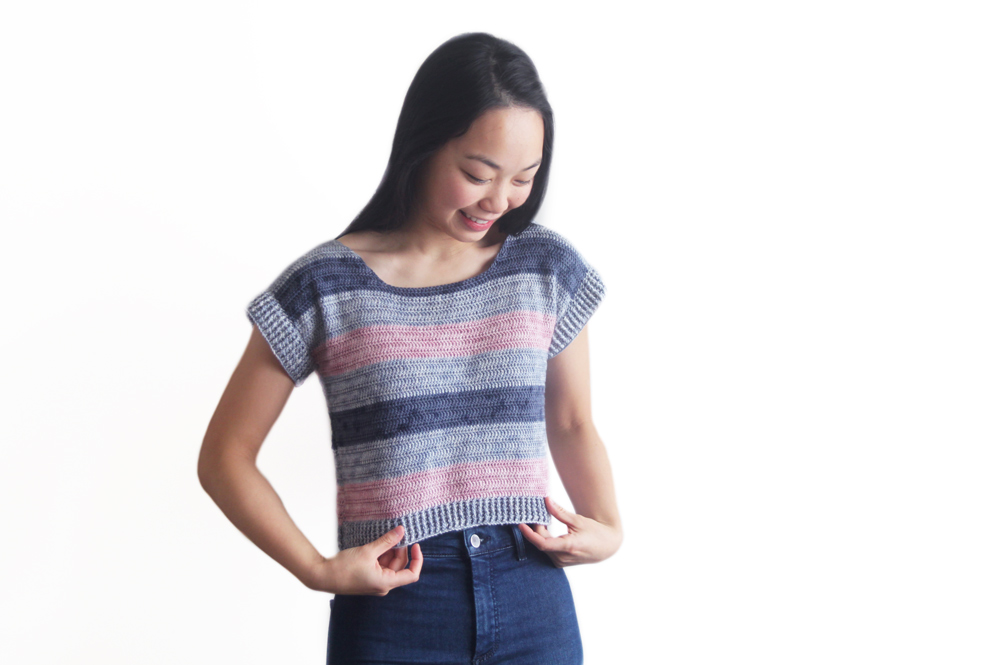
Cropped and lightweight with a retro feel the Riviera Tee is a great season transitional piece! The thick chunky stripes and the short ribbed sleeves create a fun, chic crochet tee. You can vary up the stripes as you wish or pick a solid colour for a clean, no-frills look!
Design Inspiration
Normally, I’m not really a huge stripe person (colour block is my favourite!) but lately I’ve been in love with the French bateau stripe trend. I love how the light blue, rose and navy stripes of this tee are a different colour combo to the traditional blue and white. The wide stripes make the tee look crisp and clean and pairs well with casual or beach outfits! I can imagine wearing this top with a large straw hat and flowy skirt while strolling along a beach in the Côte d’Azur 🙂 However, its 10C and hailing in Auckland so I'll have to wait for summer for beach pics!
Yarn
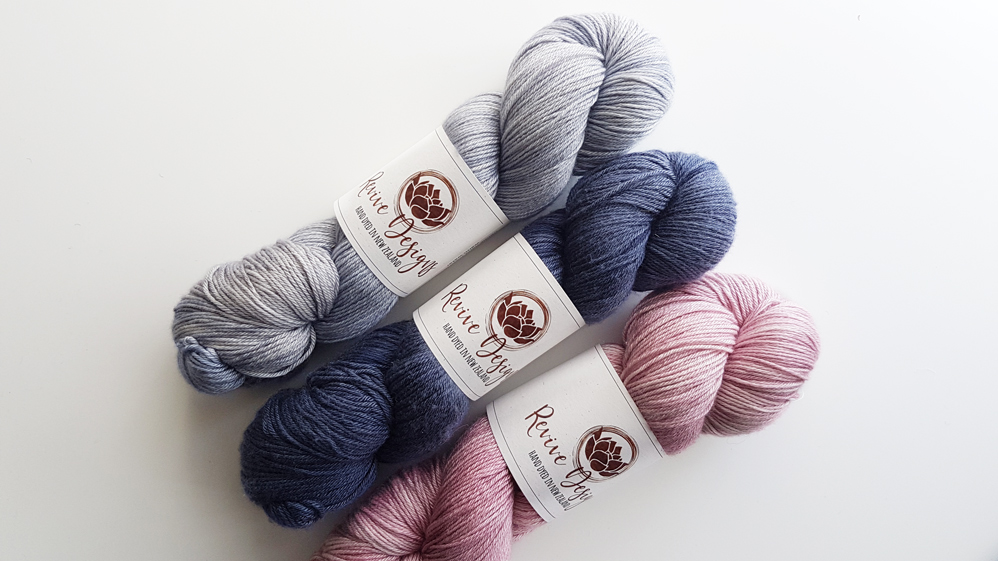
I think this Revive Designs 4ply Silk Blend is one of my favourite yarns ever! Considering how much yarn I have that’s saying a lot haha. Revive Designs is a hand dyed yarn company from Christchurch, New Zealand and their colour ways ranging from soft muted, pastels to rich jewel tones and they are all absolutely breath taking!
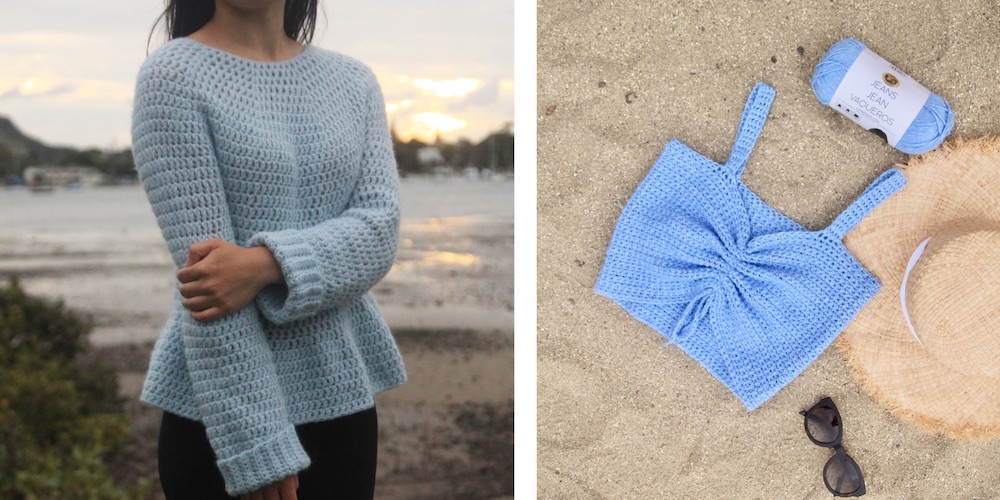
This gorgeous 50% Merino + 50% Silk blend from Revive Designs is so incredibly soft yet strong and I think it will hold up well to pilling! I love how the merino silk blend keeps you warm in chilly weather or cool in hot weather so it’s perfect for seasons like Spring and Autumn. I wish there was an aran/worsted version! This Merino Silk blend is a wonderful treat for someone special or yourself 😉 but if you’re looking for an affordable alternative a great choice would be Lion Brand’s Beautiful You.
Pin me for later!
Video Tutorial
Add the Riviera Stripe Tee to your Ravelry queue!
Purchase the ad-free, printable pdf version of Riviera Stripe Tee!
*The sizing guide follows size XS(S, M, L, XL, 2XL, 3XL). E.g. “Ch 100(112, 124, 136, 148, 160, 172) means Ch 100 for XS, Ch 112 for Small, Ch 124 for Medium, Ch 136 for Large, Ch 148 for XL, Ch 160 for 2XL and Ch 172 for 3XL.
*"DC 10" means DC into the next 10 stitches.
*"2DC" means place 2 DC into the same stitch.
*Ch 2 does NOT count as a stitch.
*Total stitches are indicated between < >.
*This pattern uses US crochet terms.
LEVEL: Easy
Materials
Yarn – Revive Designs 4ply Merino Silk Blend – Sock/Super Fine(1)/4 ply, 350m/100g, 50% Silk + 50% Merino
Yarn A: Bluestone approx. 130(150, 165, 185, 240, 260, 285)g
Yarn B: Rose approx. 45(55, 85, 95, 105, 110, 120)g
Yarn C: Denim approx. 40(45, 60, 65, 70, 75, 120)g
3.5mm (US E) Crochet Hook
Stitches & Abbreviations
Ch = Chain
Sl st = Slip Stitch
DC = Double Crochet
DC2tog = Double Crochet 2 stitches together
FpDC = Front Post Double Crochet
BpDC = Back Post Double Crochet
Rep = Repeat
St(s) = Stitches
GAUGE: 10cm/4” square = 23 stitches wide x 14 rows tall in double crochet
Measurements cm:
Width: 43(48, 53, 58, 63, 69, 74)
To fit Bust: 76(86, 96, 106, 117, 127, 137)
Armhole: 15(16, 18, 19, 20, 21, 23)
Length: 38(38, 42, 42, 46, 46, 50)
Measurements inches:
Width: 17(19, 21, 23, 25, 27, 29)
To fit Bust: 30(34, 38, 42, 46, 50, 54)
Armhole: 6(6.5, 7, 7.5, 8, 8.5, 9)
Length: 15(15, 16.5, 16.5, 18, 18, 19.5)
Riviera Stripe Tee Crochet Pattern
Back Panel
FOUNDATION CHAIN: With Yarn A, Ch 100(112, 124, 136, 148, 160, 172).
ROW 1: DC into the 3rd ch from the hook, DC in each ch, turn.
<98(110, 122, 134, 146, 158, 170)>
ROWS 2 - 6: Ch 2, DC, *FpDC, BpDC; rep from * until last st, DC into last st, turn.
<98(110, 122, 134, 146, 158, 170)>
ROW 7: With Yarn B, ch 2, DC in each st until end, turn.
<98(110, 122, 134, 146, 158, 170)>
Repeat ROW 7 until ROW 54(54, 60, 60, 66, 66, 72).
*You can add or remove rows to reach your desired length.
*To follow the stripe pattern of the sample top, change yarn colours every 6 rows – please refer to the Stripe Chart.
Fasten off.
Stripe Chart:
Rows 1 – 6: Yarn A
Rows 7 – 12: Yarn B
Rows 13 – 18: Yarn A
Rows 19 – 24: Yarn C
Rows 25 – 30: Yarn A
Rows 31 – 36: Yarn B
Rows 37 – 42: Yarn A
Rows 41 – 48: Yarn C
Rows 49 – 54: Yarn A
Rows 55 – 60: Yarn B
Rows 61 – 66: Yarn A
Rows 67 – 72: Yarn C
Front Panel
FOUNDATION CHAIN: With Yarn A, Ch 100(112, 124, 136, 148, 160, 172).
ROW 1: DC into the 3rd ch from the hook, DC in each ch, turn.
<98(110, 122, 134, 146, 158, 170)>
ROWS 2 - 6: Ch 2, DC, *FpDC, BpDC; rep from * until last st, DC into last st, turn.
<98(110, 122, 134, 146, 158, 170)>
ROW 7: With Yarn B, DC into the 3rd ch from the hook, DC in each ch, turn.
<98(110, 122, 134, 146, 158, 170)>
Repeat ROW 7 until ROW 44(44, 50, 50, 56, 56, 62). Continue directly onto ‘RIGHT SHOULDER SHAPING’.
*If you altered the number of rows, repeat ROW 7 until 10 rows short of the total number of rows of your BACK PANEL.
*To follow the stripe pattern of the sample top, change yarn colours every 6 rows – please refer to the Stripe Chart.
Shoulder Shaping
LEFT SHOULDER SHAPING
ROW 1: Ch 2, DC 33(34, 40, 41, 47, 48, 54), DC2tog, turn.
<34(35, 41, 42, 48, 49, 55)>
ROW 2: Ch 2, DC2tog, DC in each st until end, turn.
<33(34, 40, 41, 47, 48, 54)>
ROW 3: Ch 2, DC 31(32, 38, 39, 45, 46, 52), DC2tog, turn.
<32(33, 39, 40, 46, 47, 53)>
ROW 4: Ch 2, DC2tog, DC in each st until end, turn.
<31(32, 38, 39, 45, 46, 52)>
ROW 5: With Yarn A(A, B, B, A, A, C), Ch 2, DC in each st until the last 2 sts, DC2tog, turn.
<30(31, 37, 38, 44, 45, 51)>
ROW 6: Ch 2, DC2tog, DC in each st until end, turn.
<29(30, 36, 37, 43, 44, 50)>
Repeat ROWS 5 - 6 until ROW 10.
<25(26, 32, 33, 39, 40, 46)>
Fasten off.
RIGHT SHOULDER SHAPING
Counting from where you worked your DC2tog of ROW 1 of LEFT SHOULDER SHAPING, skip 28(38, 38, 48, 48, 58, 58) sts. Insert hook into next st, secure yarn and pull through a loop.
ROW 1: Ch 2, DC2tog, DC in each st until end, turn.
<34(35, 41, 42, 48, 49, 55)>
ROW 2: Ch 2, DC 32(33, 39, 40, 46, 47, 53), DC2tog, turn.
<33(34, 40, 41, 47, 48, 54)>
ROW 3: Ch 2, DC2tog, DC in each st until end, turn.
<32(33, 39, 40, 46, 47, 53)>
ROW 4 Ch 2, DC 30(31, 37, 38, 44, 45, 51), DC2tog, turn.
<31(32, 38, 39, 45, 46, 52)>
ROW 5: With Yarn A(A, B, B, A, A, C), Ch 2, DC2tog, DC in each st until end, turn.
<30(31, 37, 38, 44, 45, 51)>
ROW 6: Ch 2, DC in each st until the last 2 sts, DC2tog, turn.
<29(30, 36, 37, 43, 44, 50)>
Repeat ROWS 5 - 6 until ROW 10.
<25(26, 32, 33, 39, 40, 46)>
Fasten off.
Sleeves
FOUNDATION CHAIN: With Yarn A, Ch 92(98, 104, 110, 116, 122, 128).
ROW 1: DC into the 3rd ch from the hook, DC in each ch, turn.
<90(96, 102, 108, 114, 130, 126)>
ROWS 2 - 6: Ch 2, DC, *FpDC, BpDC; rep from * until last st, DC into last st, turn.
<90(96, 102, 108, 114, 130, 126)>
Fasten off.
Repeat for 2nd sleeve.
Assembly
Lay both body pieces flat, with the front shoulder panel touching the back panel (sides without ribbing touching each other). Use a darning needle to mattress stitch the 2 panels together.
*Tip – Use stitch markers to pin panels together.
Fold sleeve in half and line up centre of sleeve with the shoulder seam.
*Tip – Use stitch markers to pin sleeves to the body.
Whip stitch the sleeves to the body, taking care to hide the yarn that has been carried along the edge of the sweater.
Repeat for 2nd sleeve.
Fold sweater in half and whip stitch along the side seams and underarm, taking care to hide the yarn that has been carried along the edge of the sweater.
Weave in all of your ends.
Check out more free crochet patterns here!
I love the way you teach. Very easy to understand and follow. Thank you for this pattern. Can’t wait to try.
Hello! May I ask if its a thicker yarn (8ply) and bigger hook (4mm), whats your suggestion for how many chains is that starting chain? I tried yours but it seems too big.
Thank you!
Hi Lorie,
If you're using a different yarn size and hook, your gauge will be different so your top won't turn out the same size as the suggested measurements. You can follow the pattern as a guide, use the measurements as a starting point, rather than the stitch counts but you'll need to recalculate the decreases and rows as well. If you're willing to experiment go ahead :), otherwise you need to have the same gauge as what's listed in the pattern to have a similar result to the sample top!
I hope this helps,
Grace
Hi. I tried making this pattern and followed every steps but just wondering if is it normal that there is an increase in every row i mean my work is getting wider in every row at the side of the body. It doesn’t stick to 98 counts from the bottom as go to the top the stitches become more than 98 counts. I am not sure if is it correct or not? Thanks hope to get in touch with you.
Hi! I started making the size small with dk yarn and its already seeming far too big, is there a way to change the pattern to a sweater by adding longer sleeves?
Hi! I am working up a gauge swatch. Across my stitches I have gauge but my stitches are too tall. I was planning on making this top longer because I like my booty covered. Will my stitches being too tall help with the length anyway or its it the other way around?